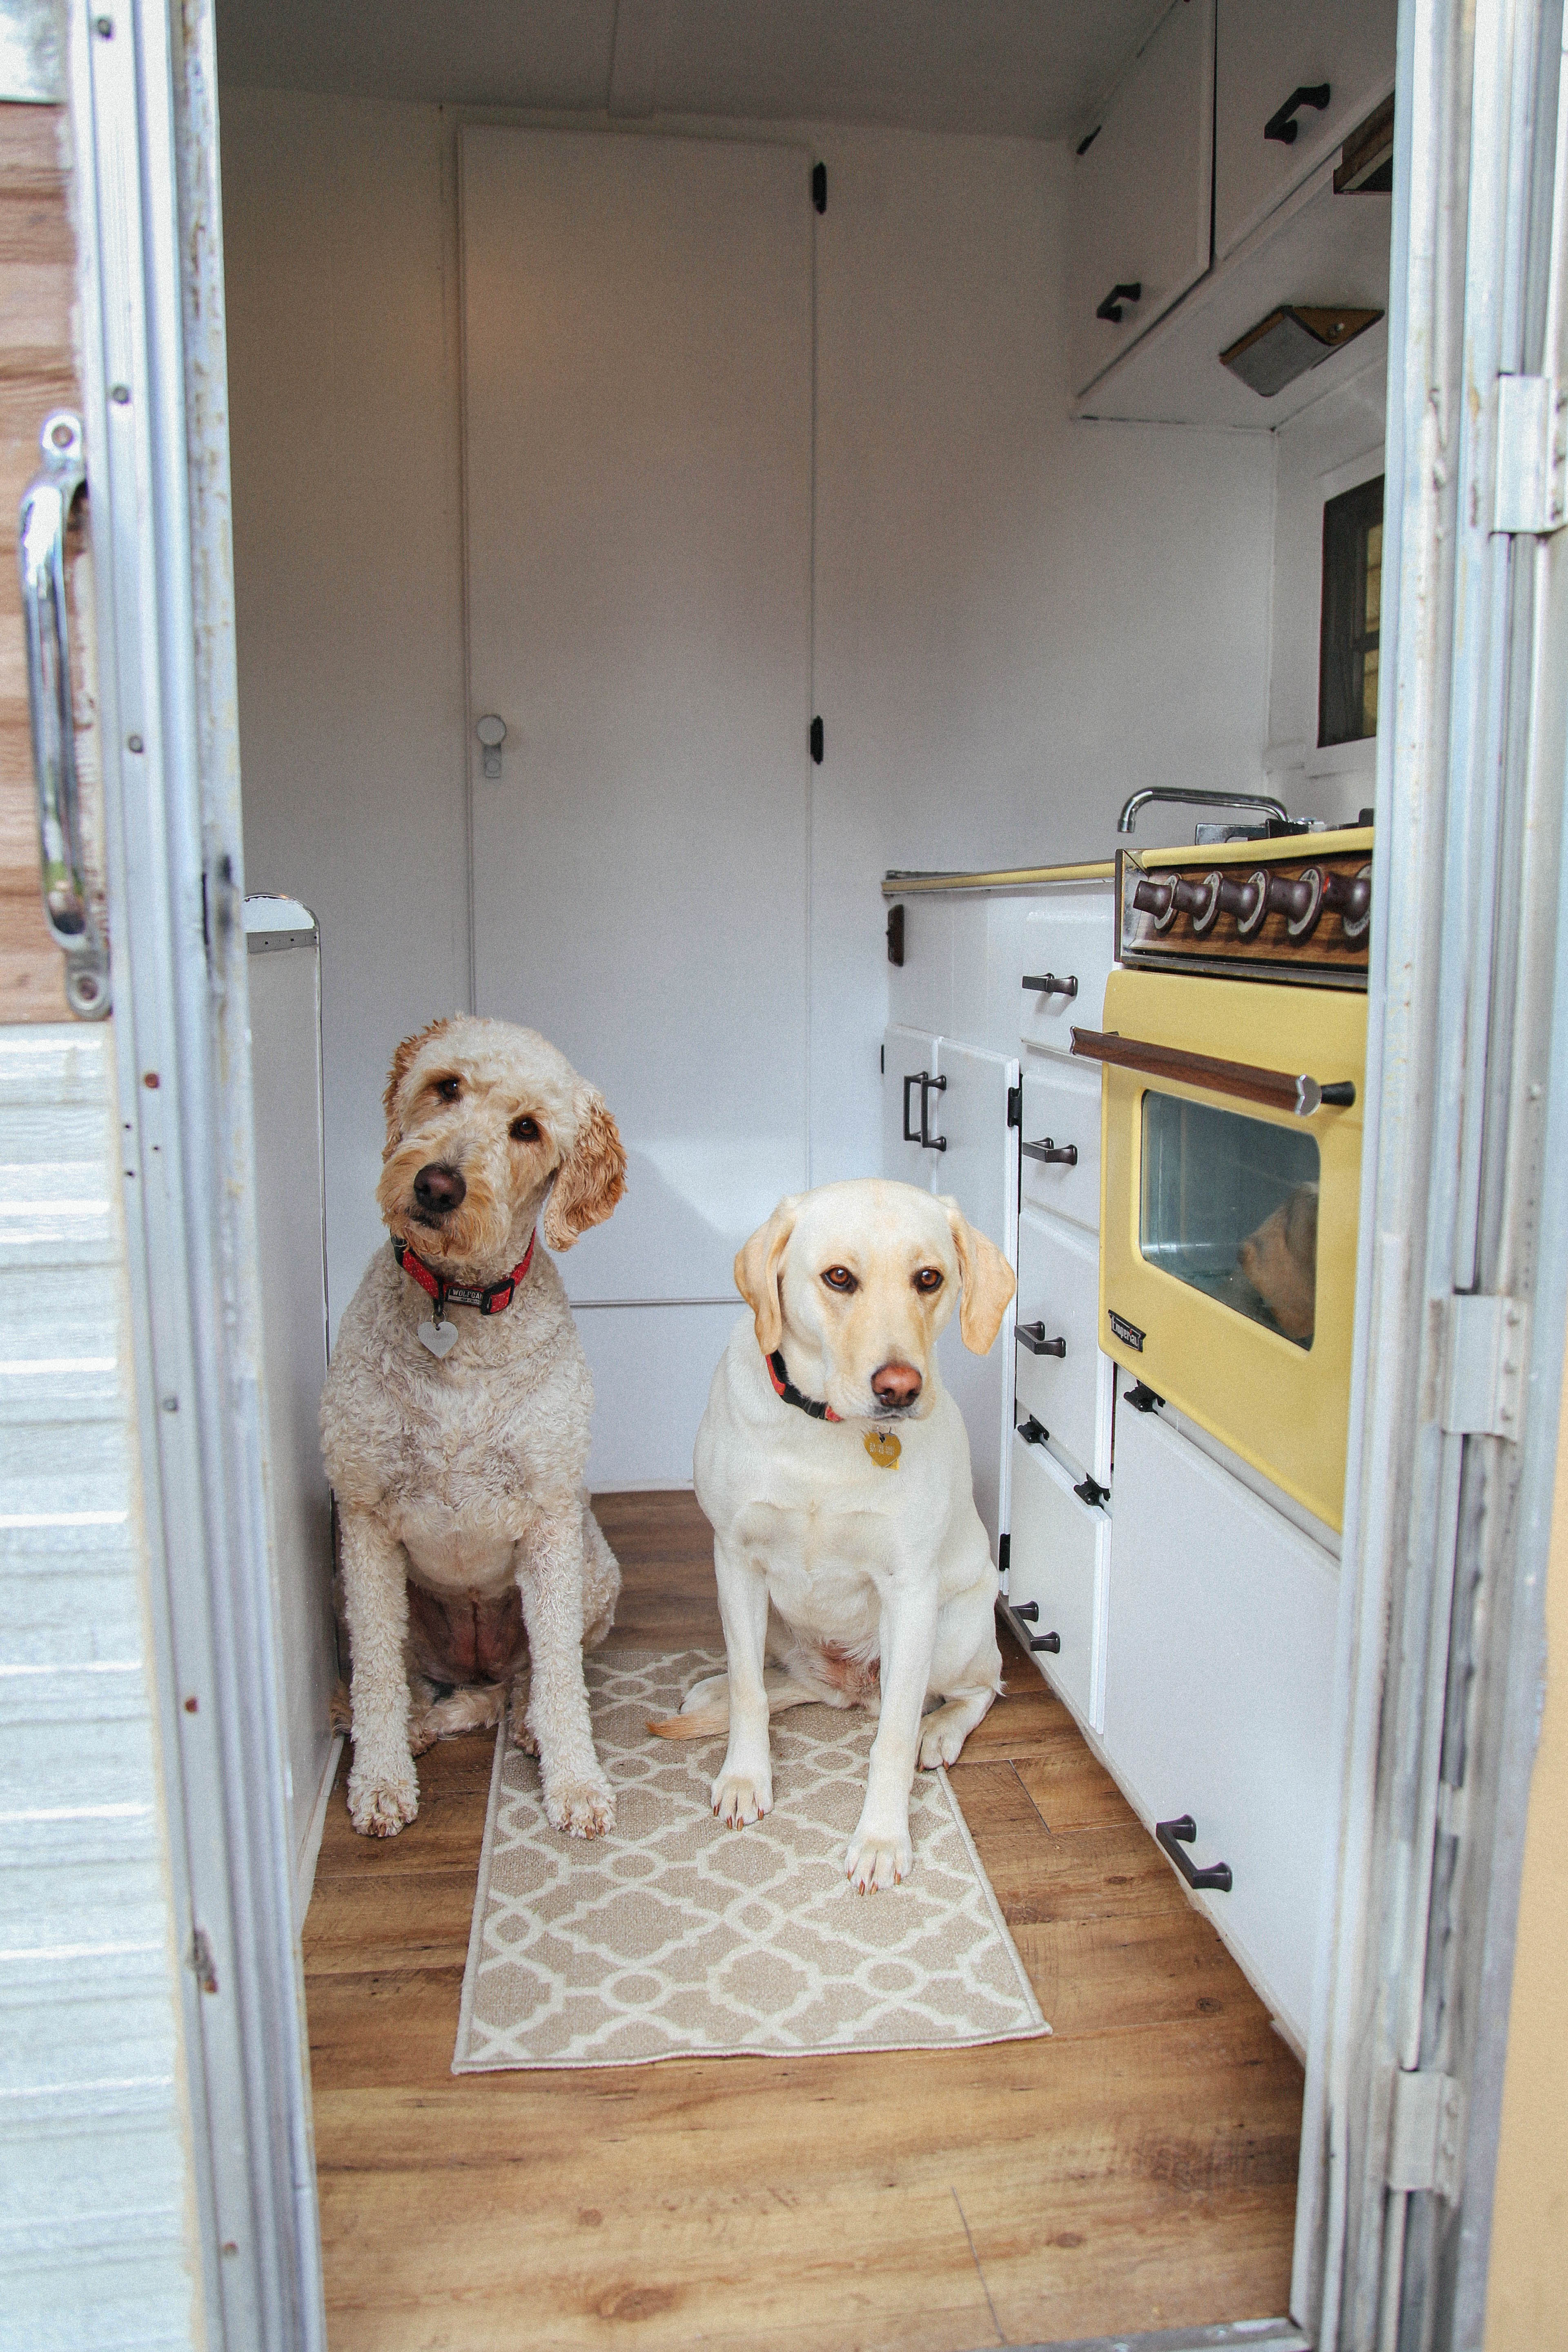
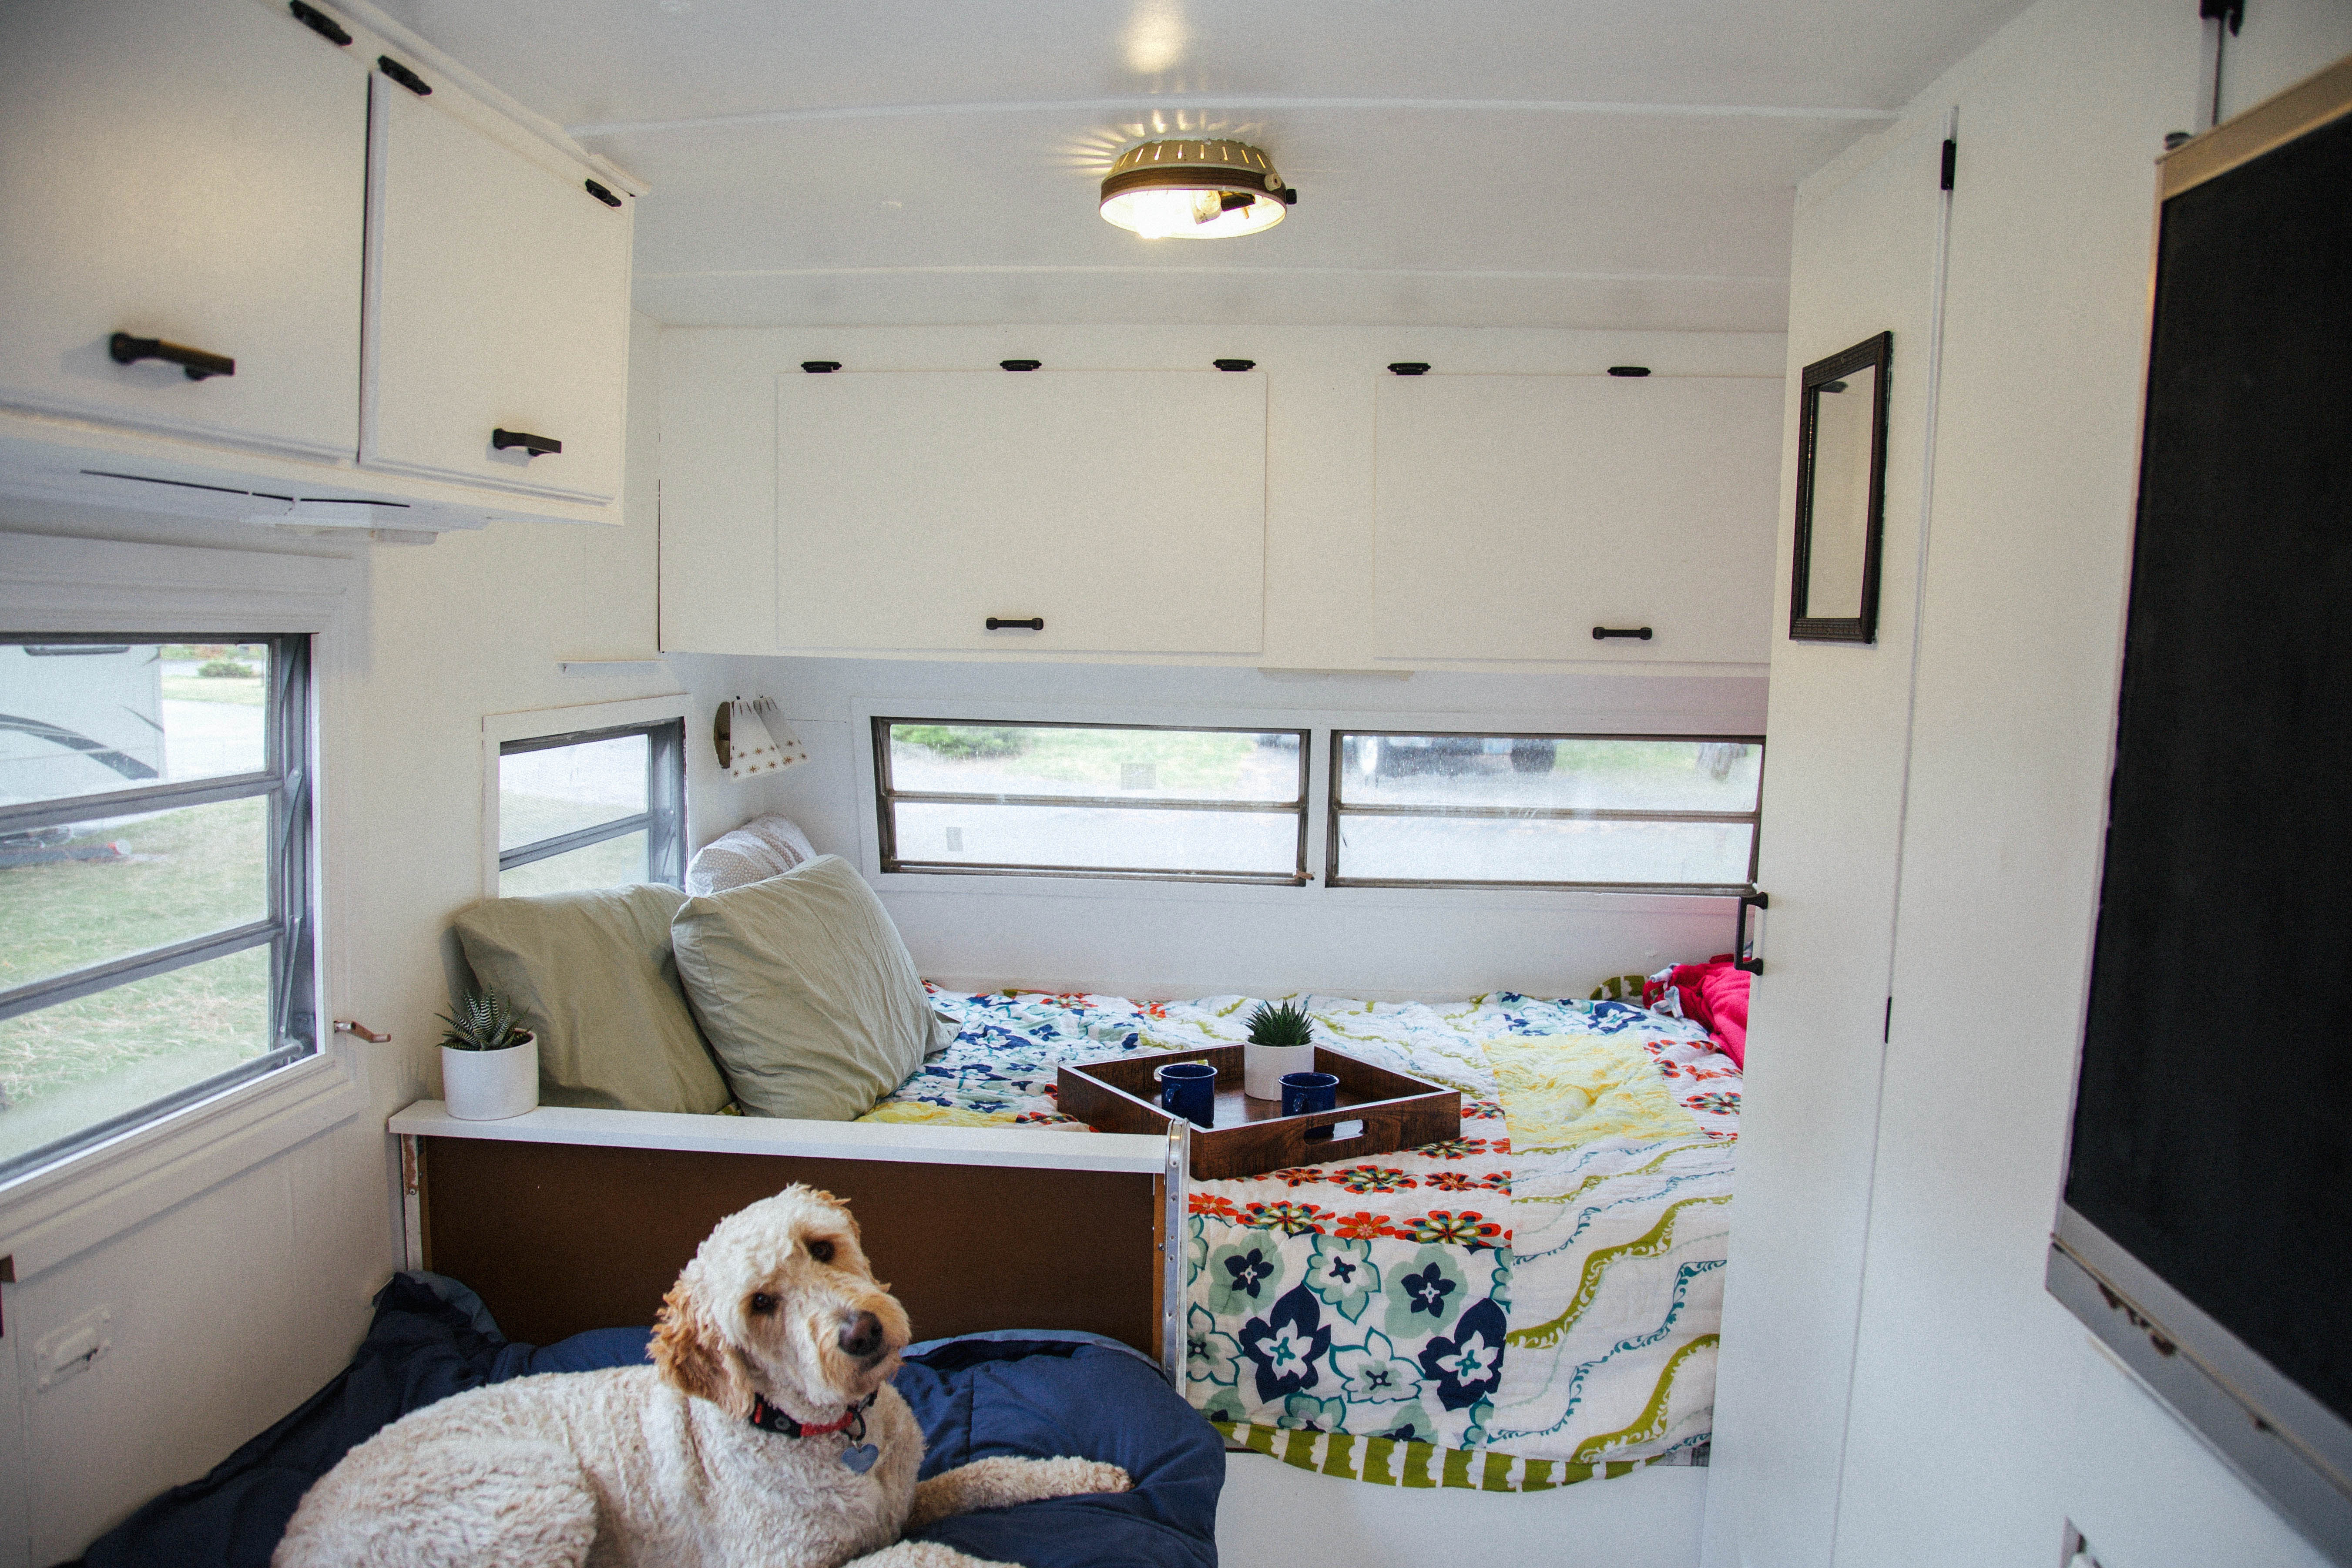
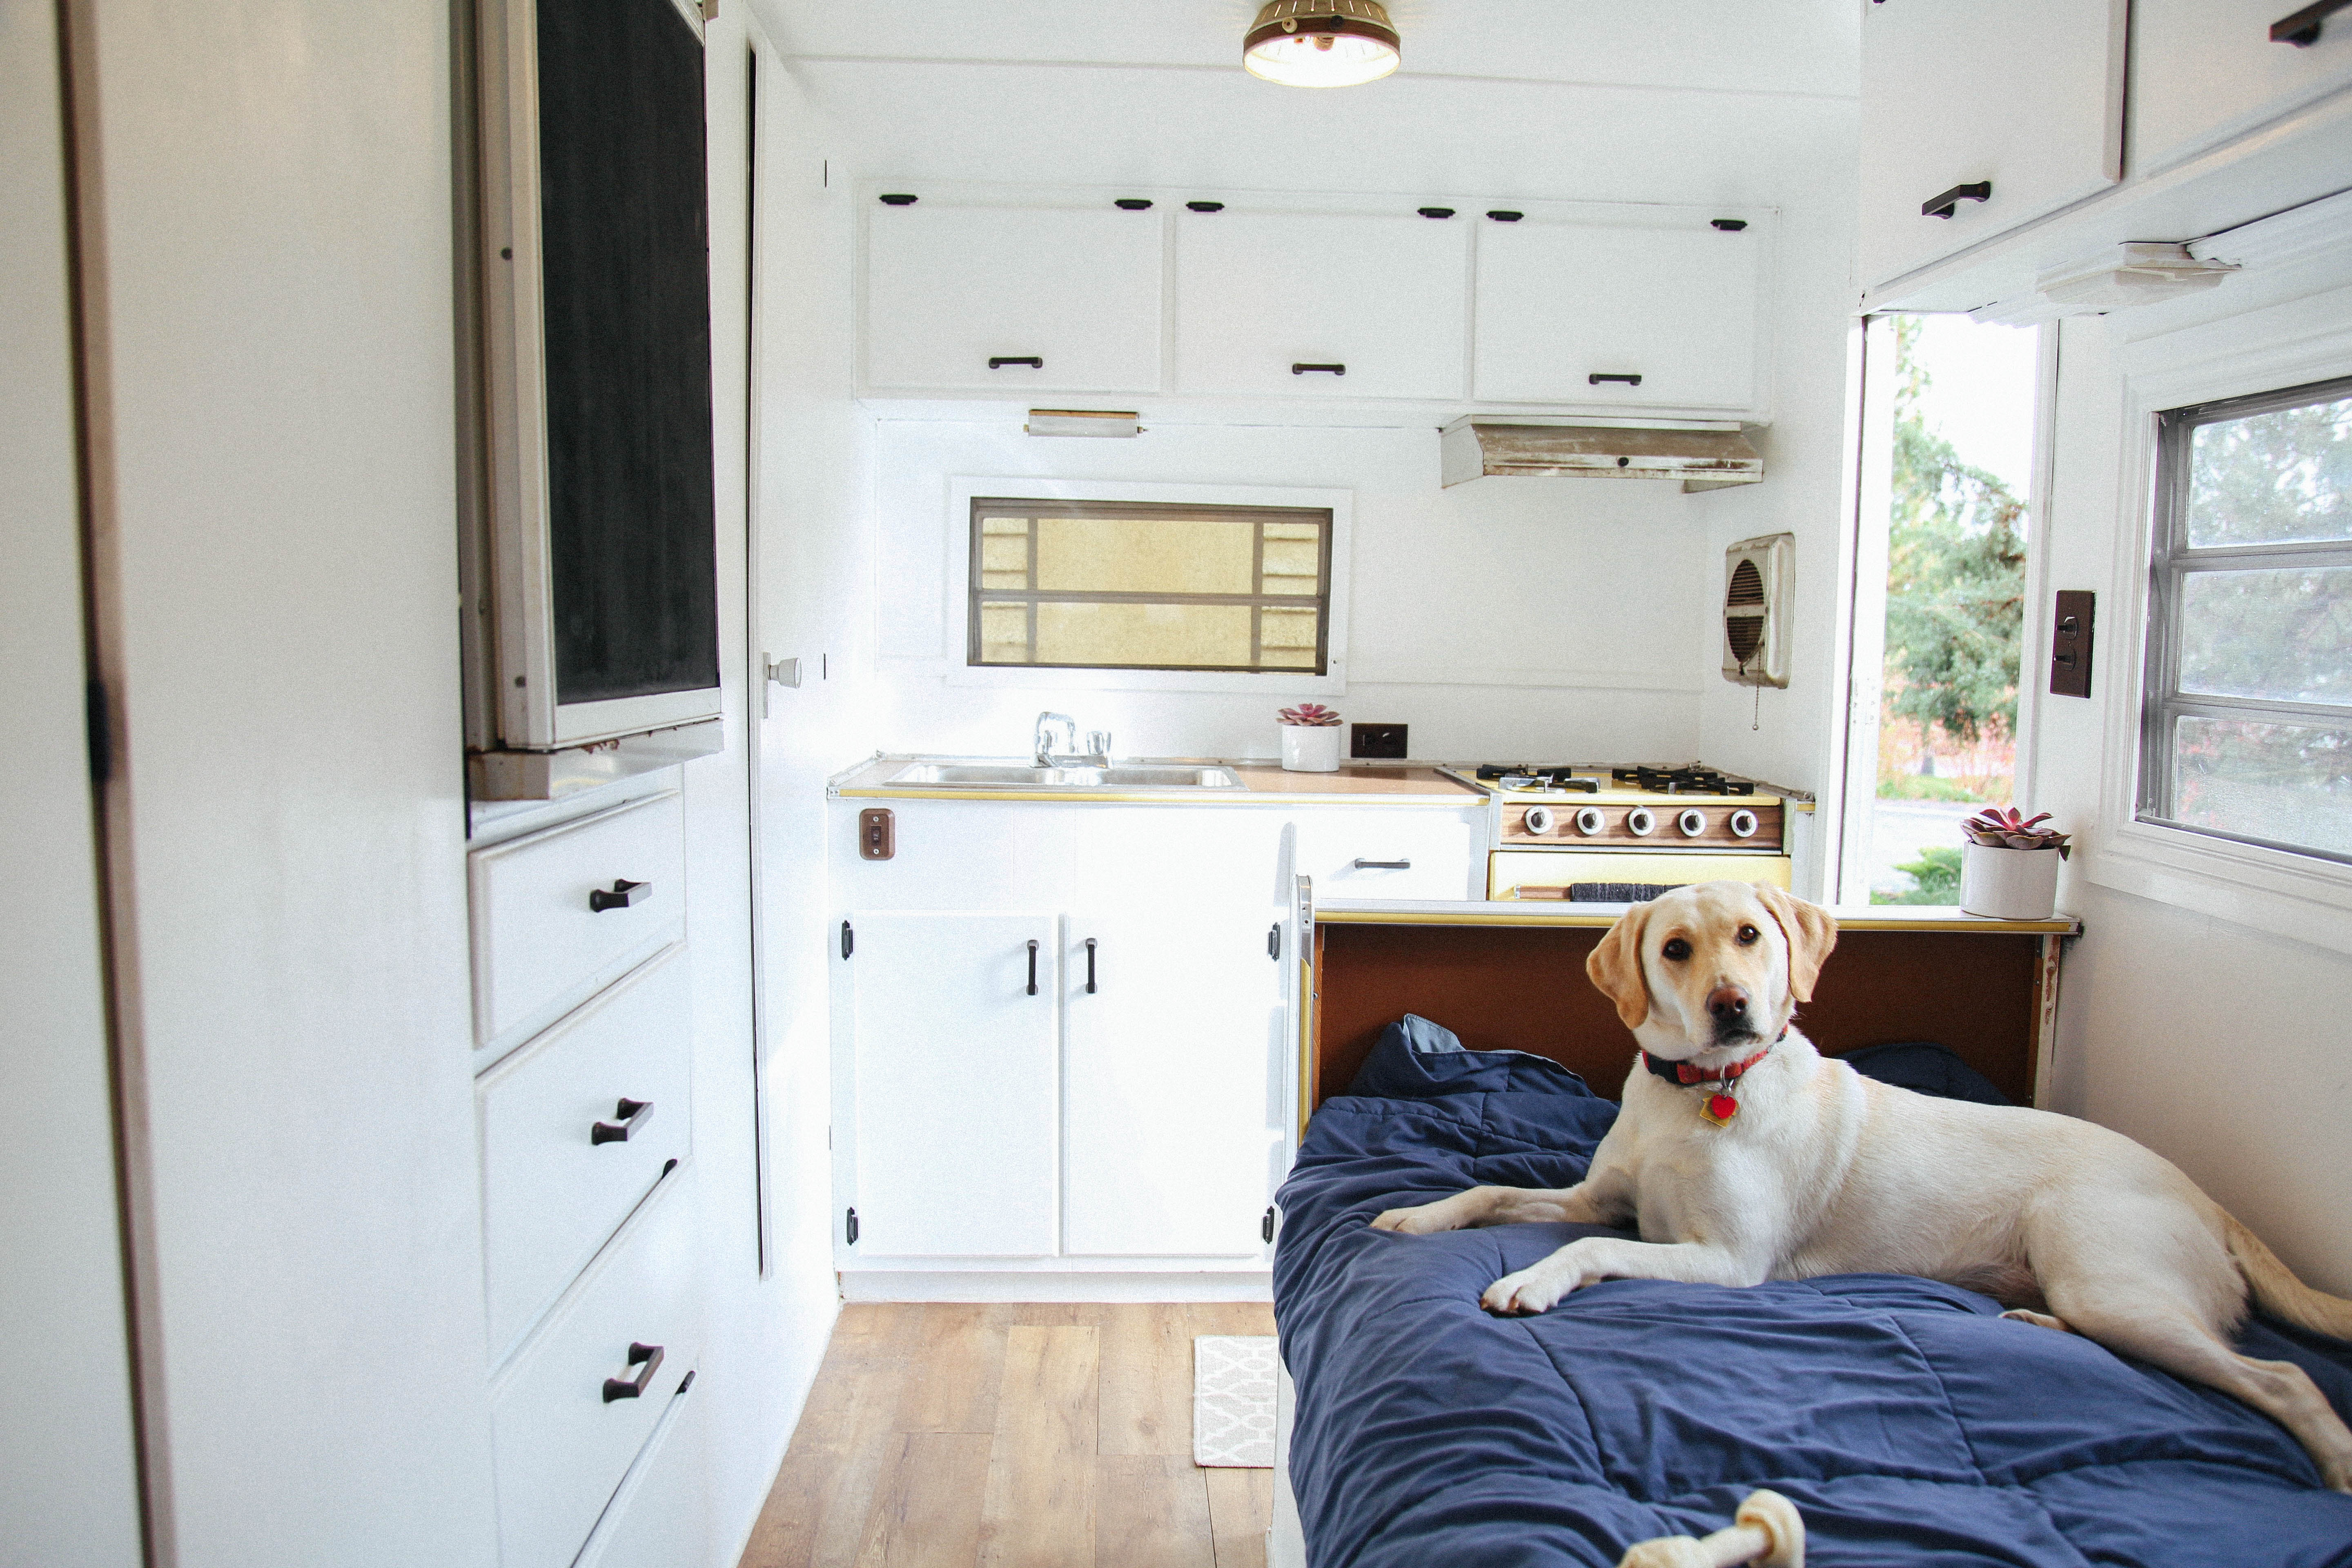
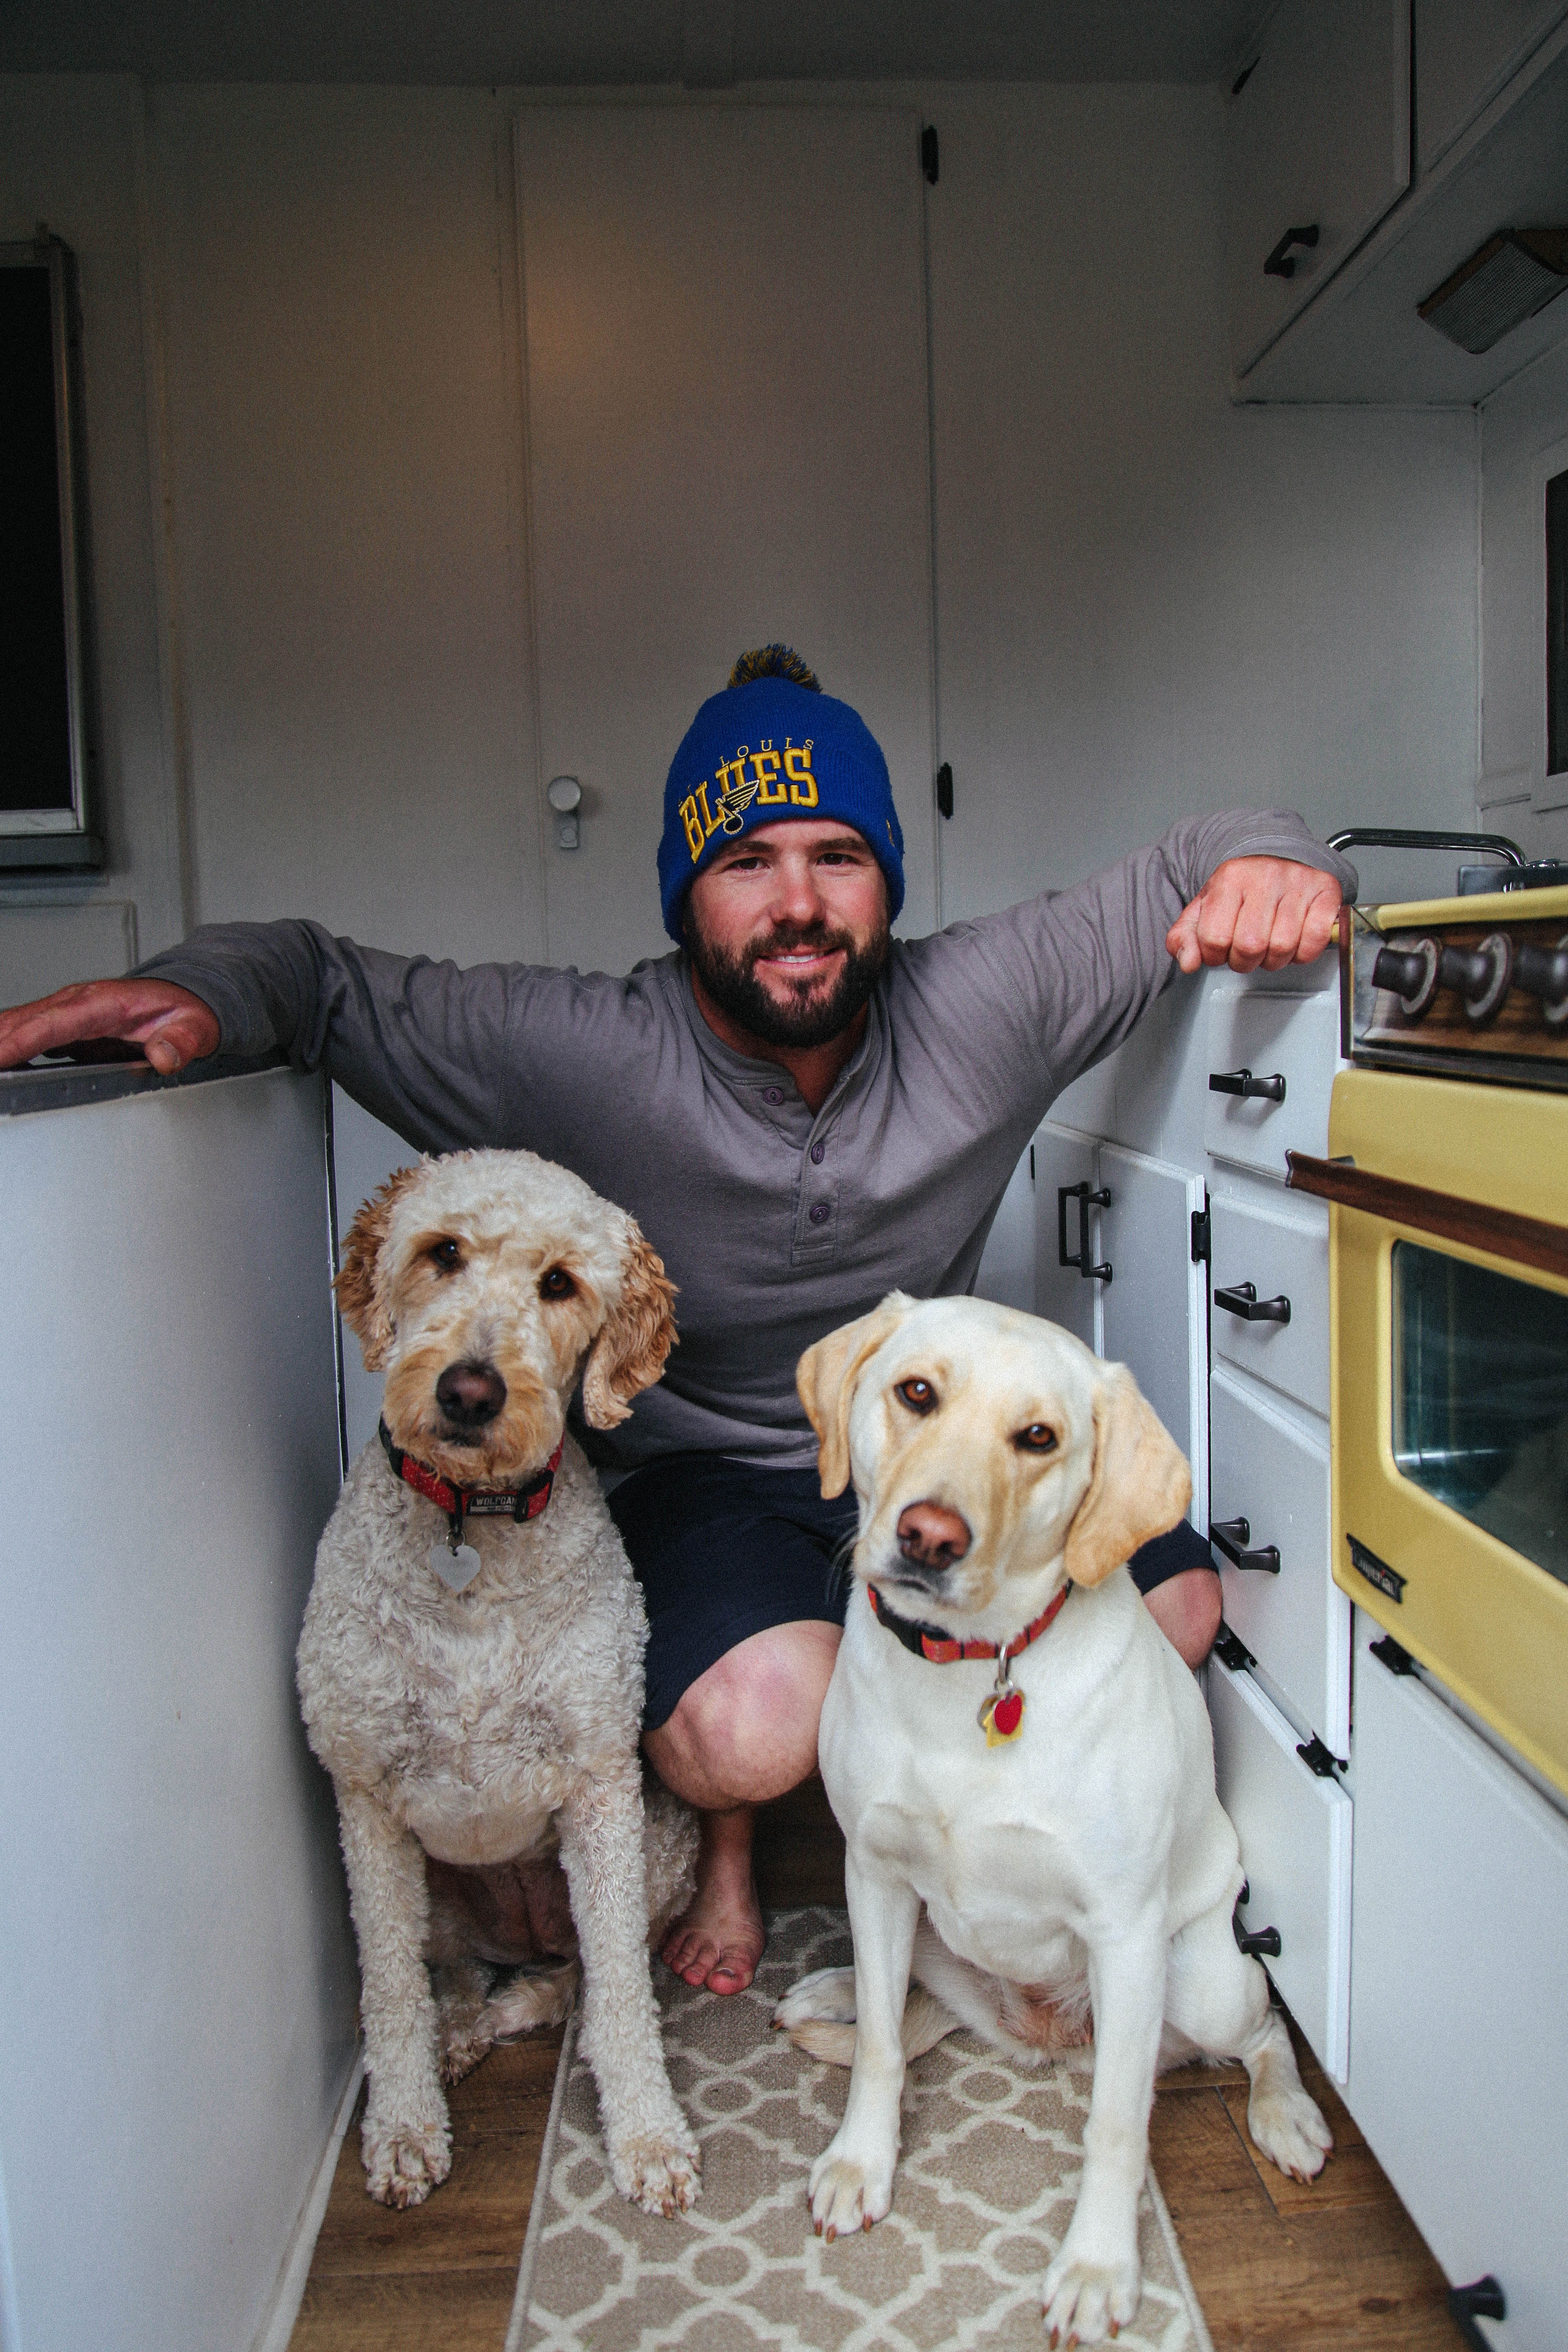
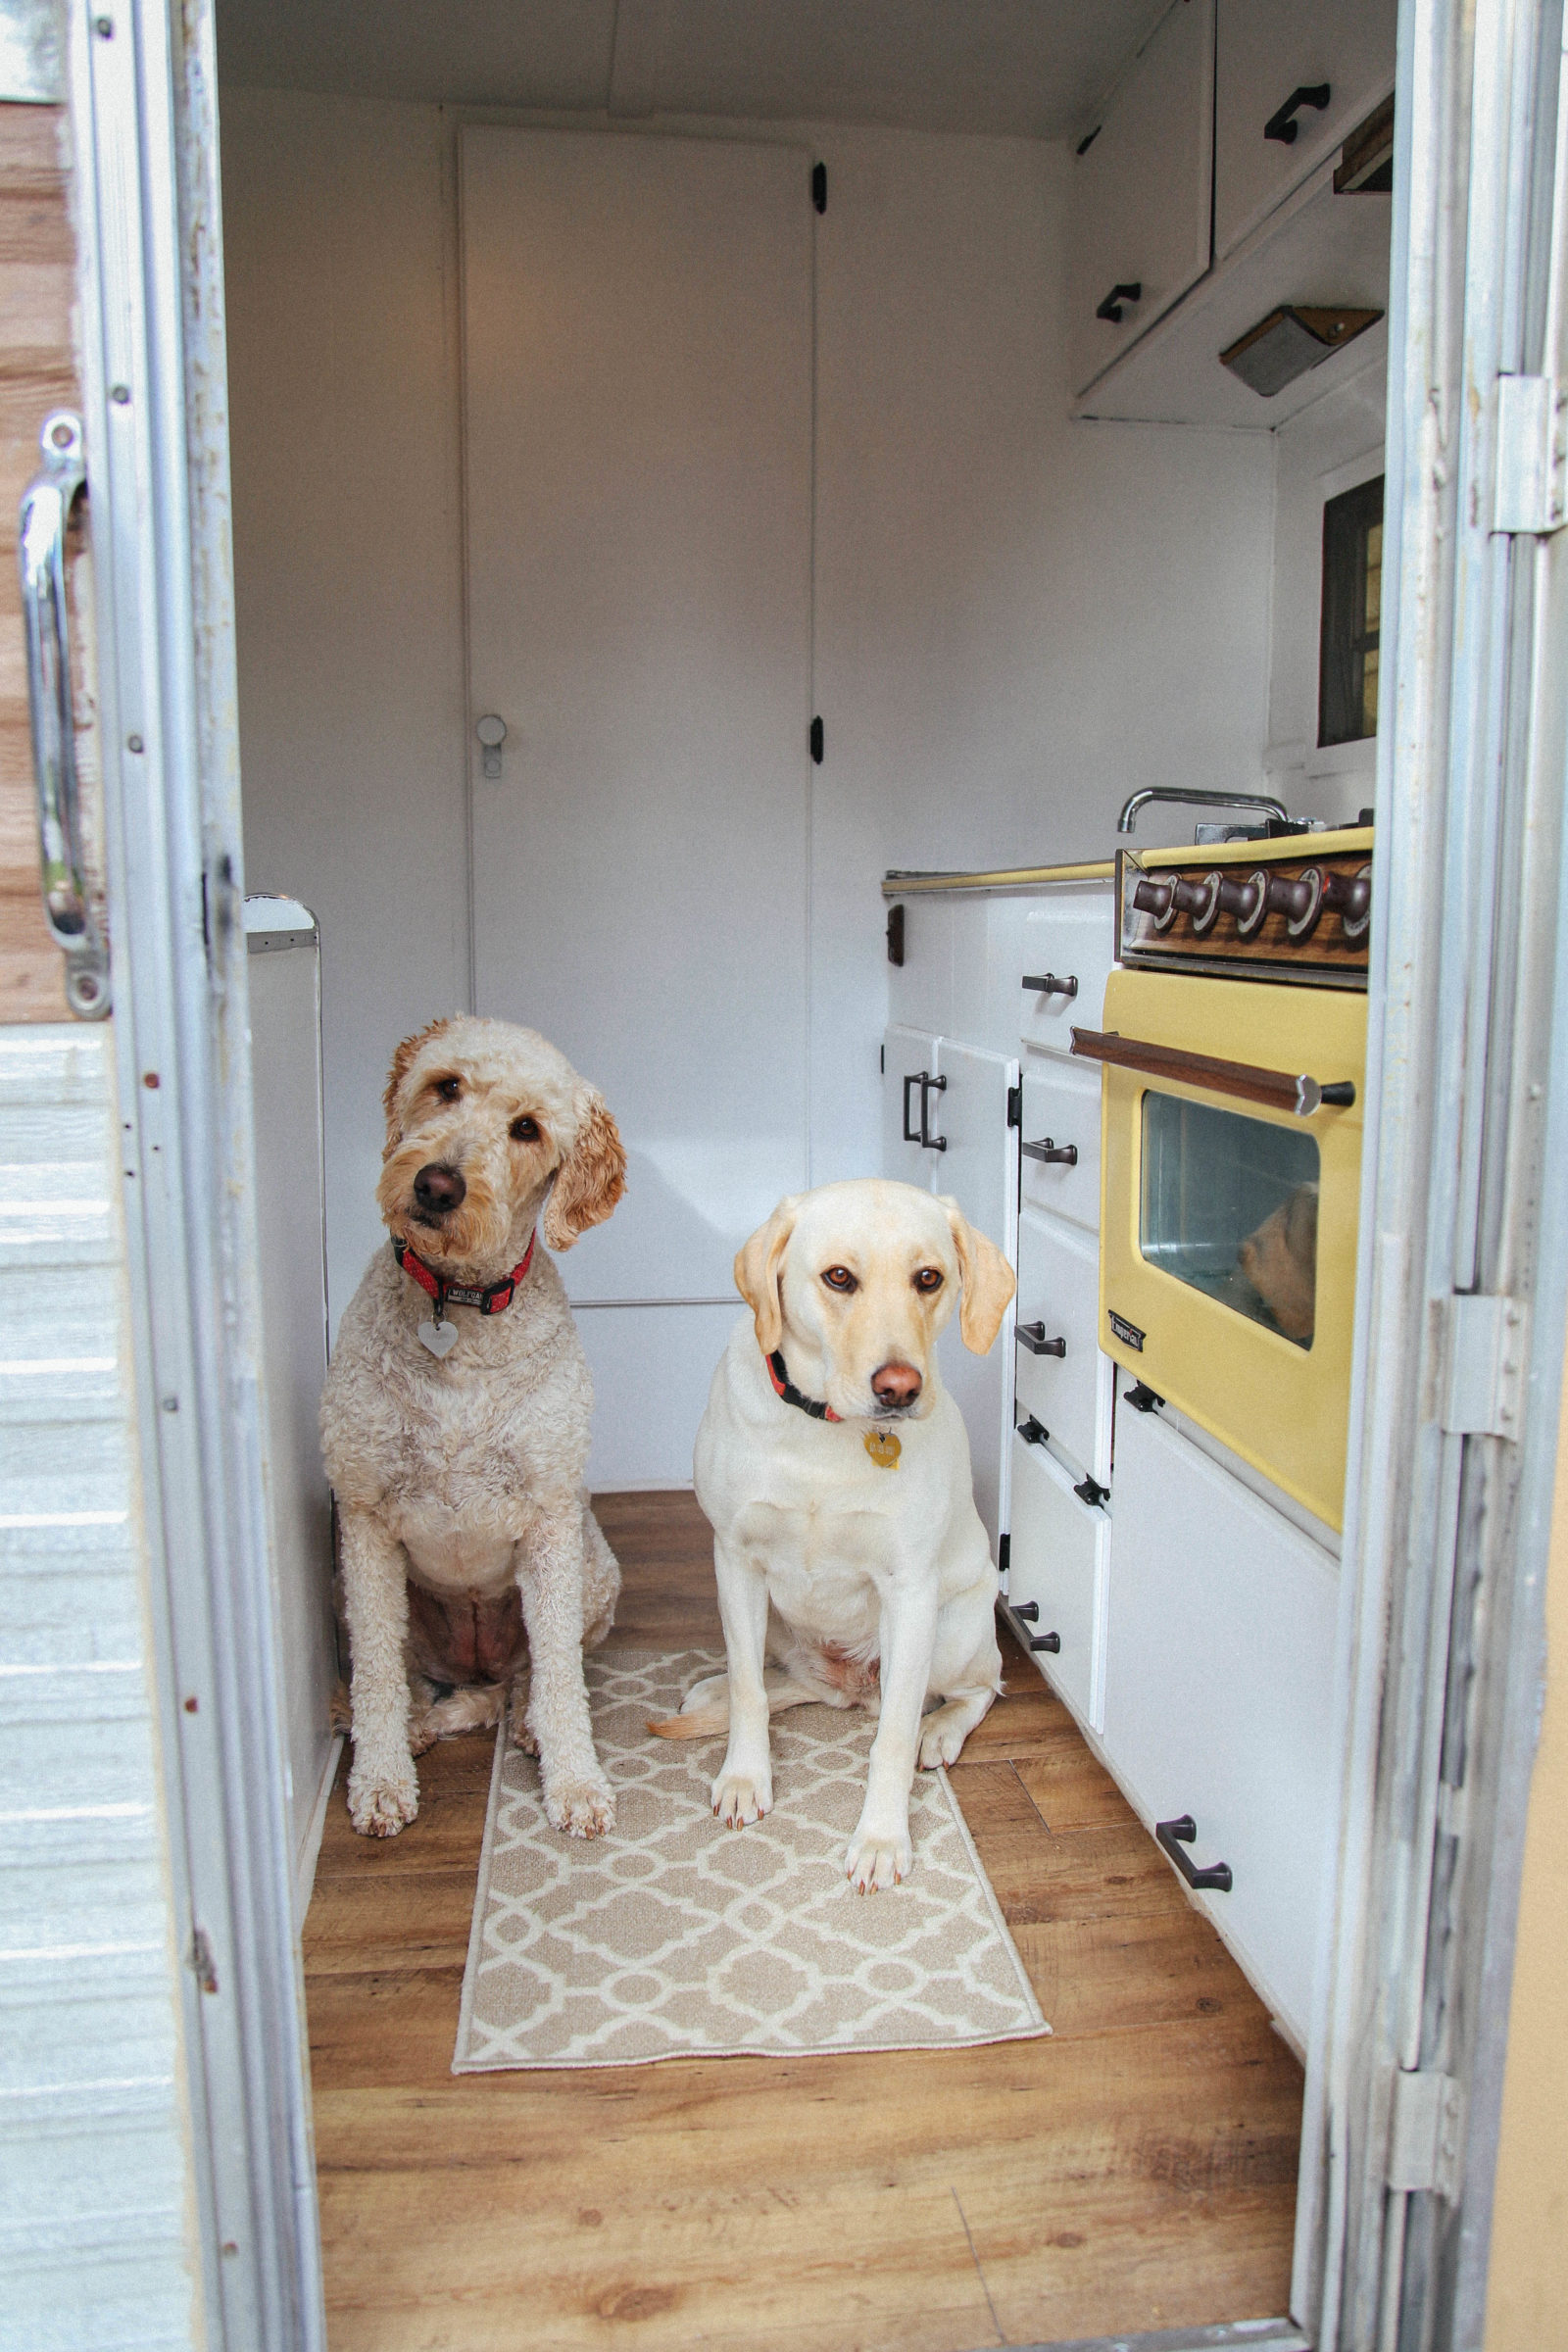
The Blonde Babes (Izzy & Pinny) want to show you around our renovated camper!
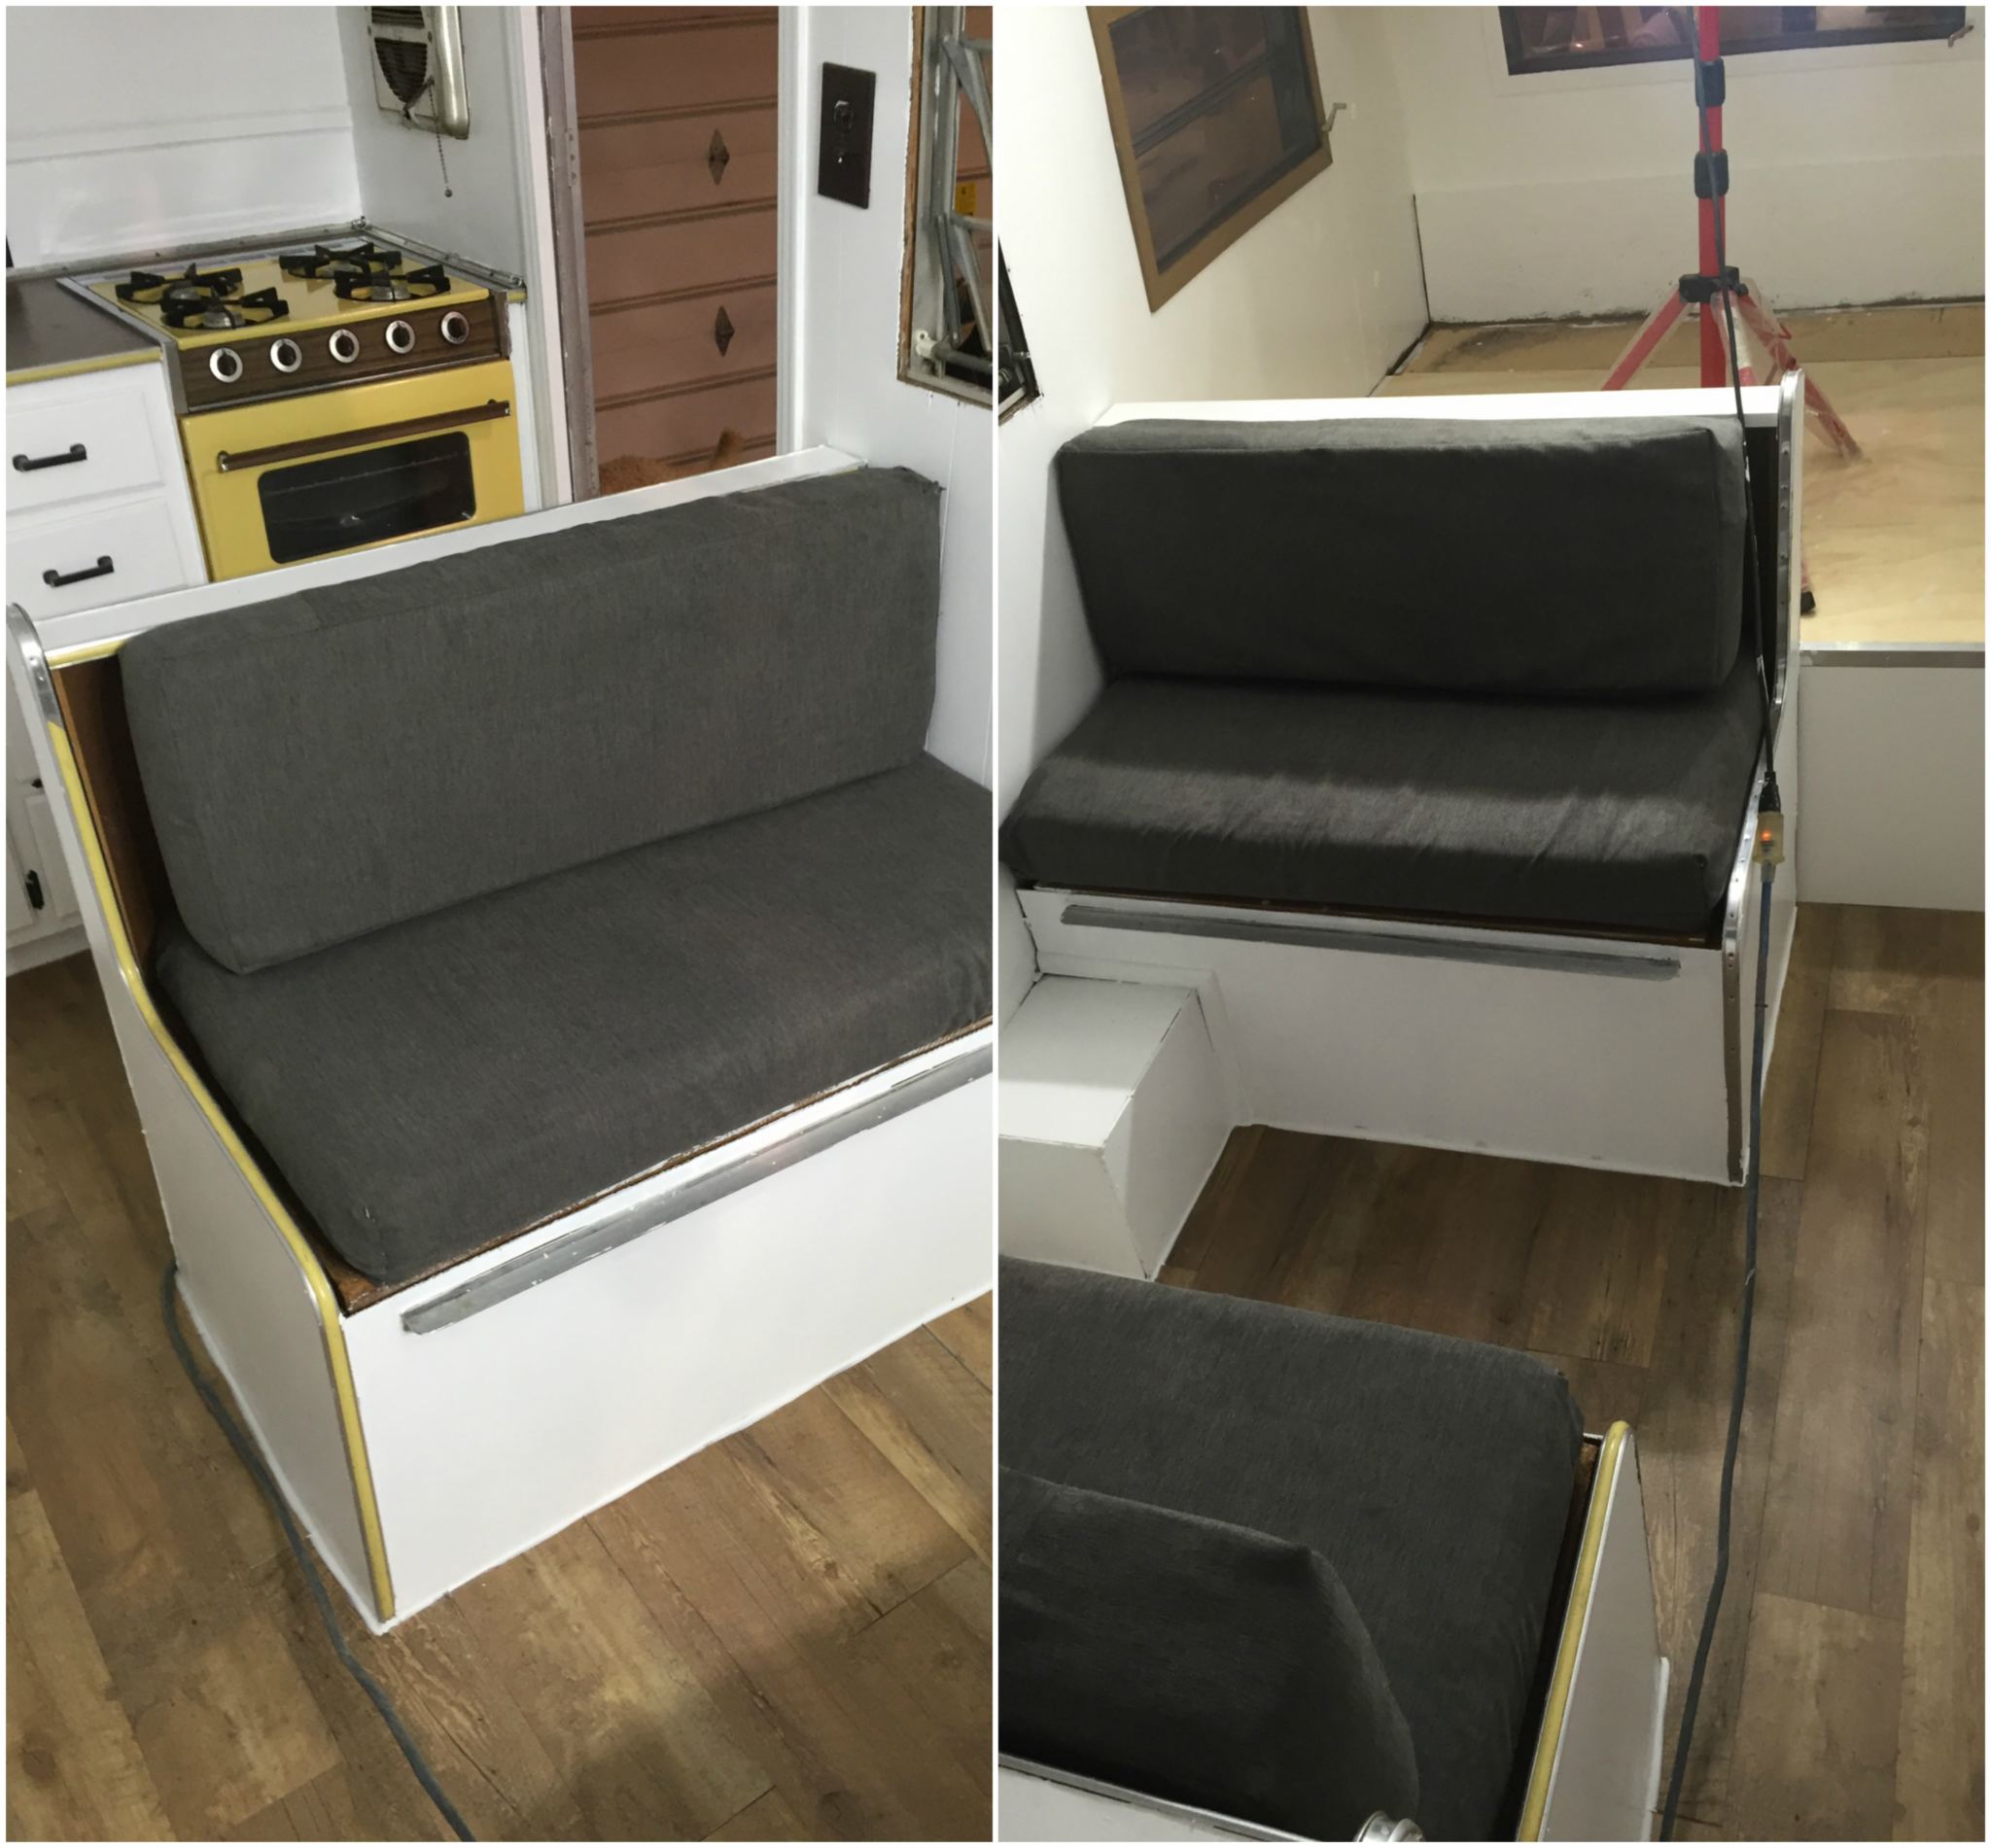
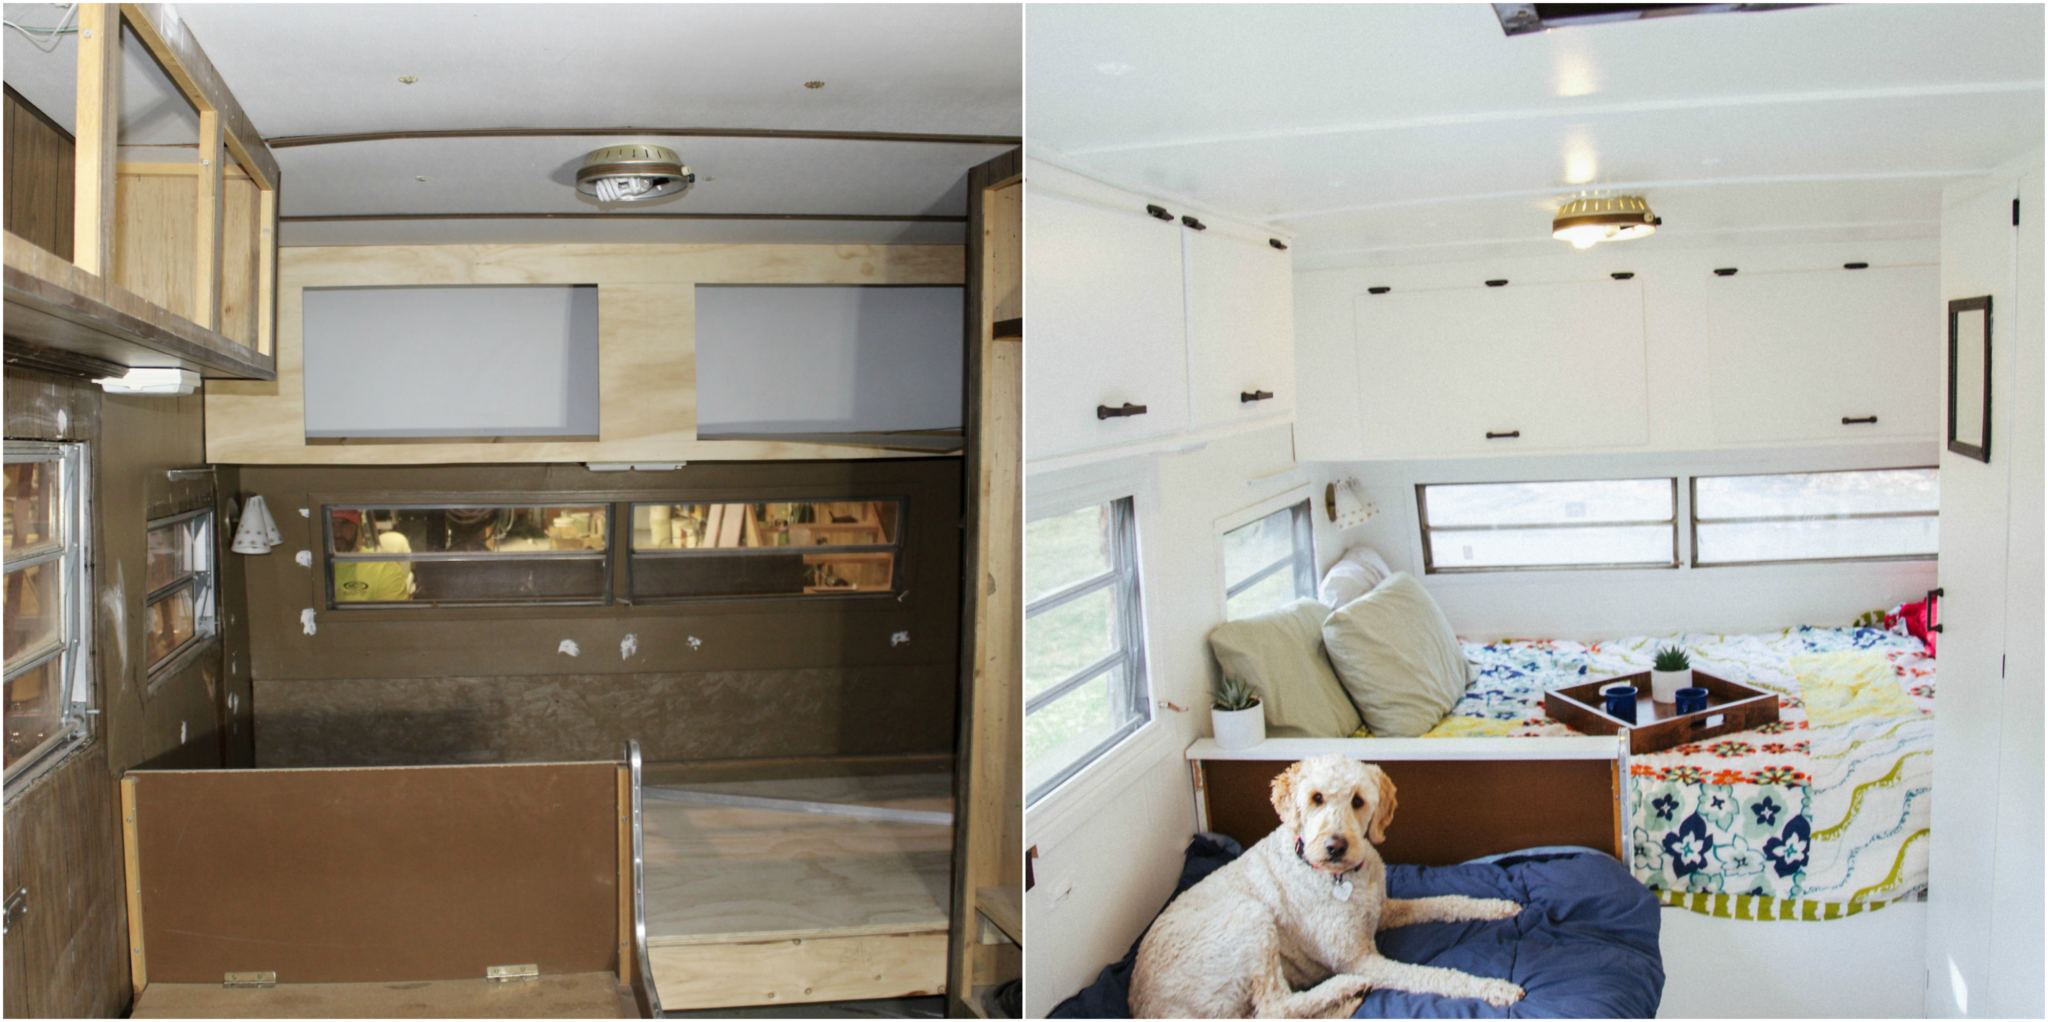
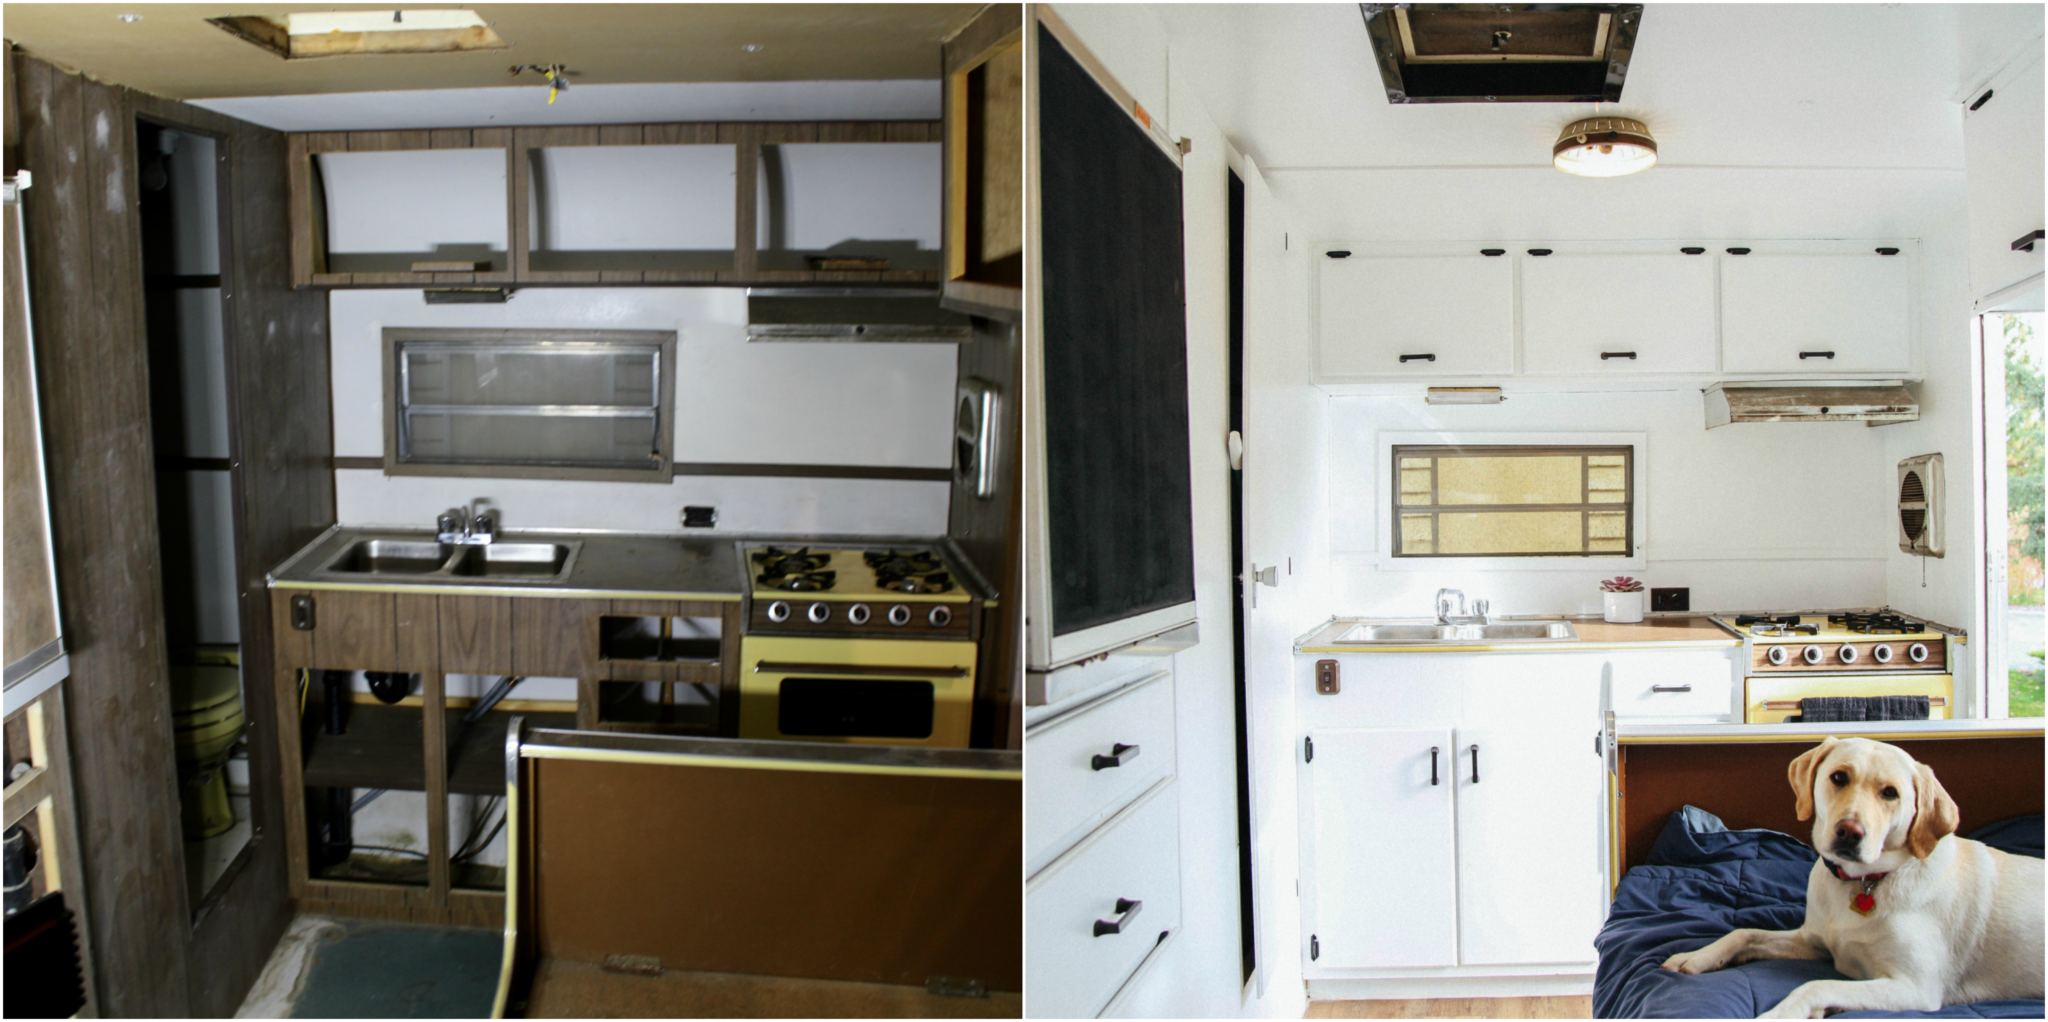
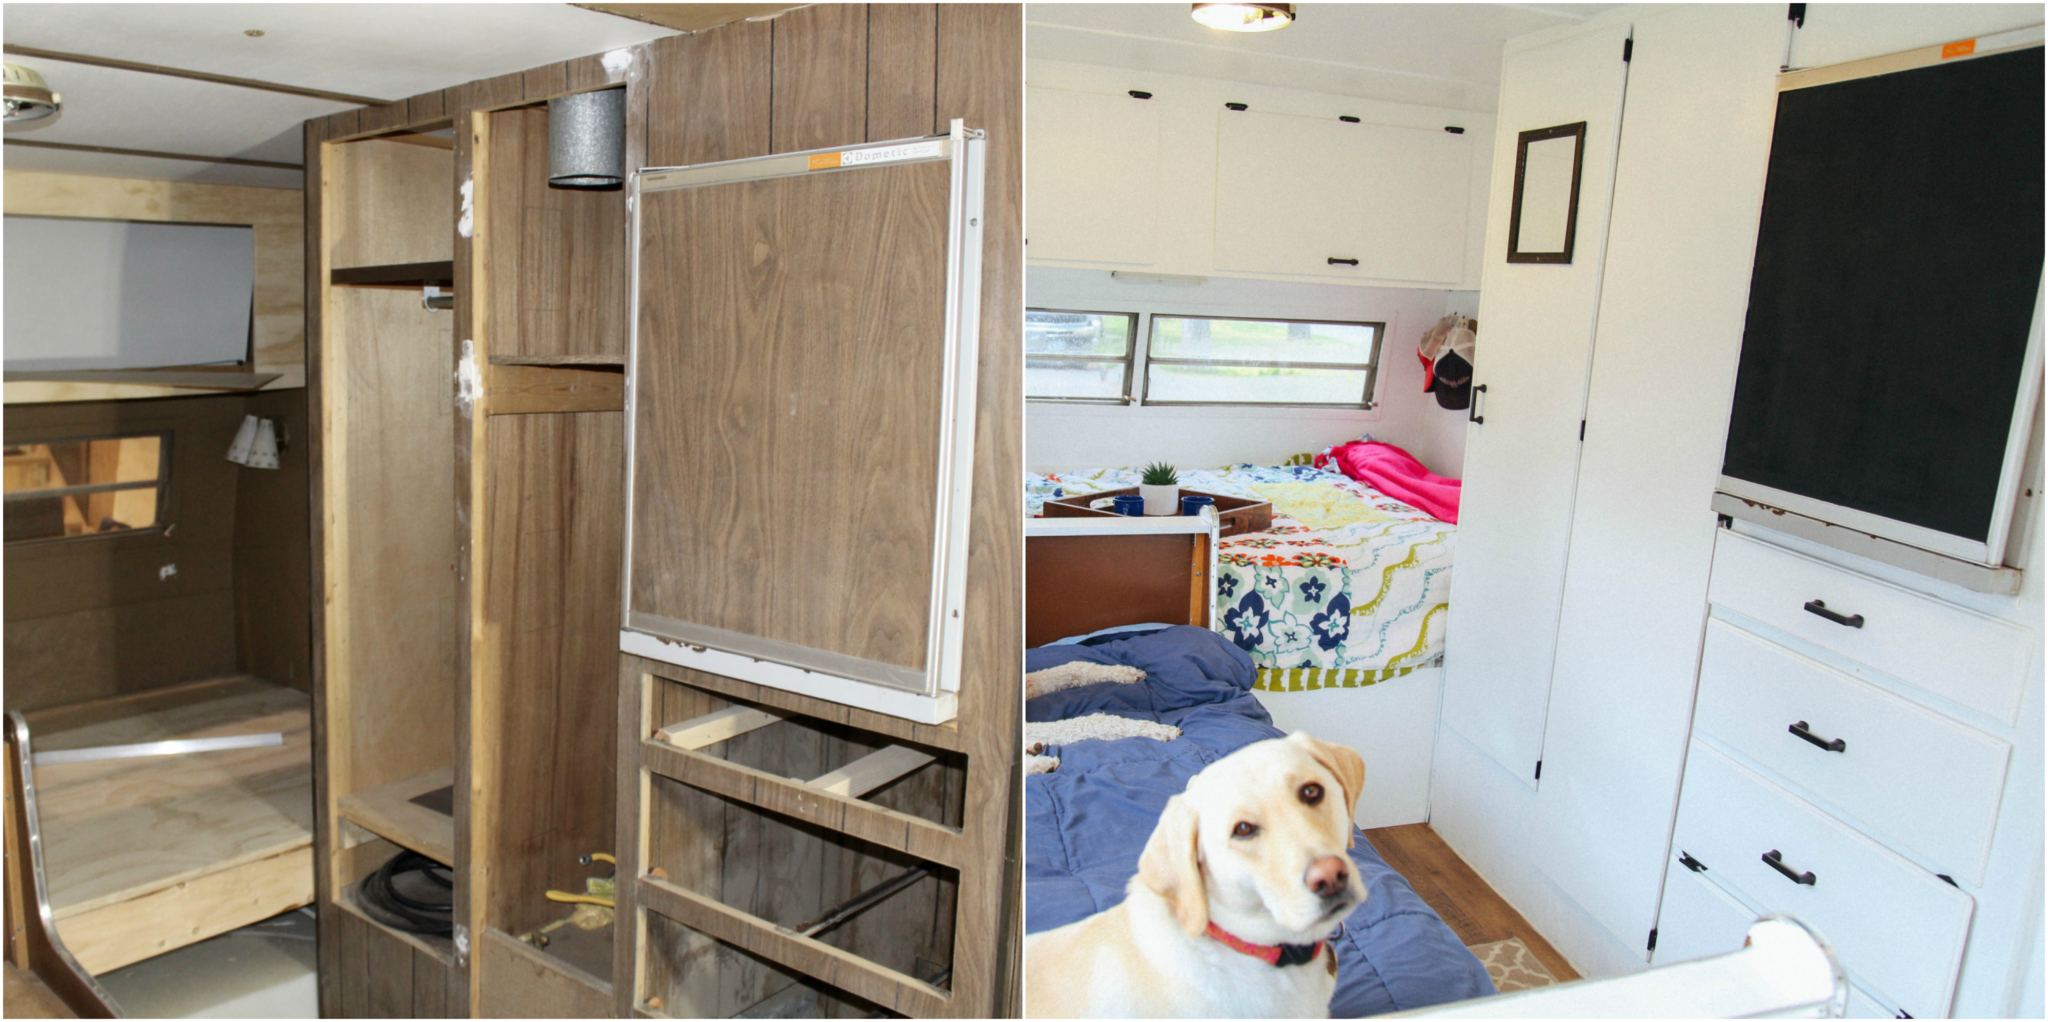
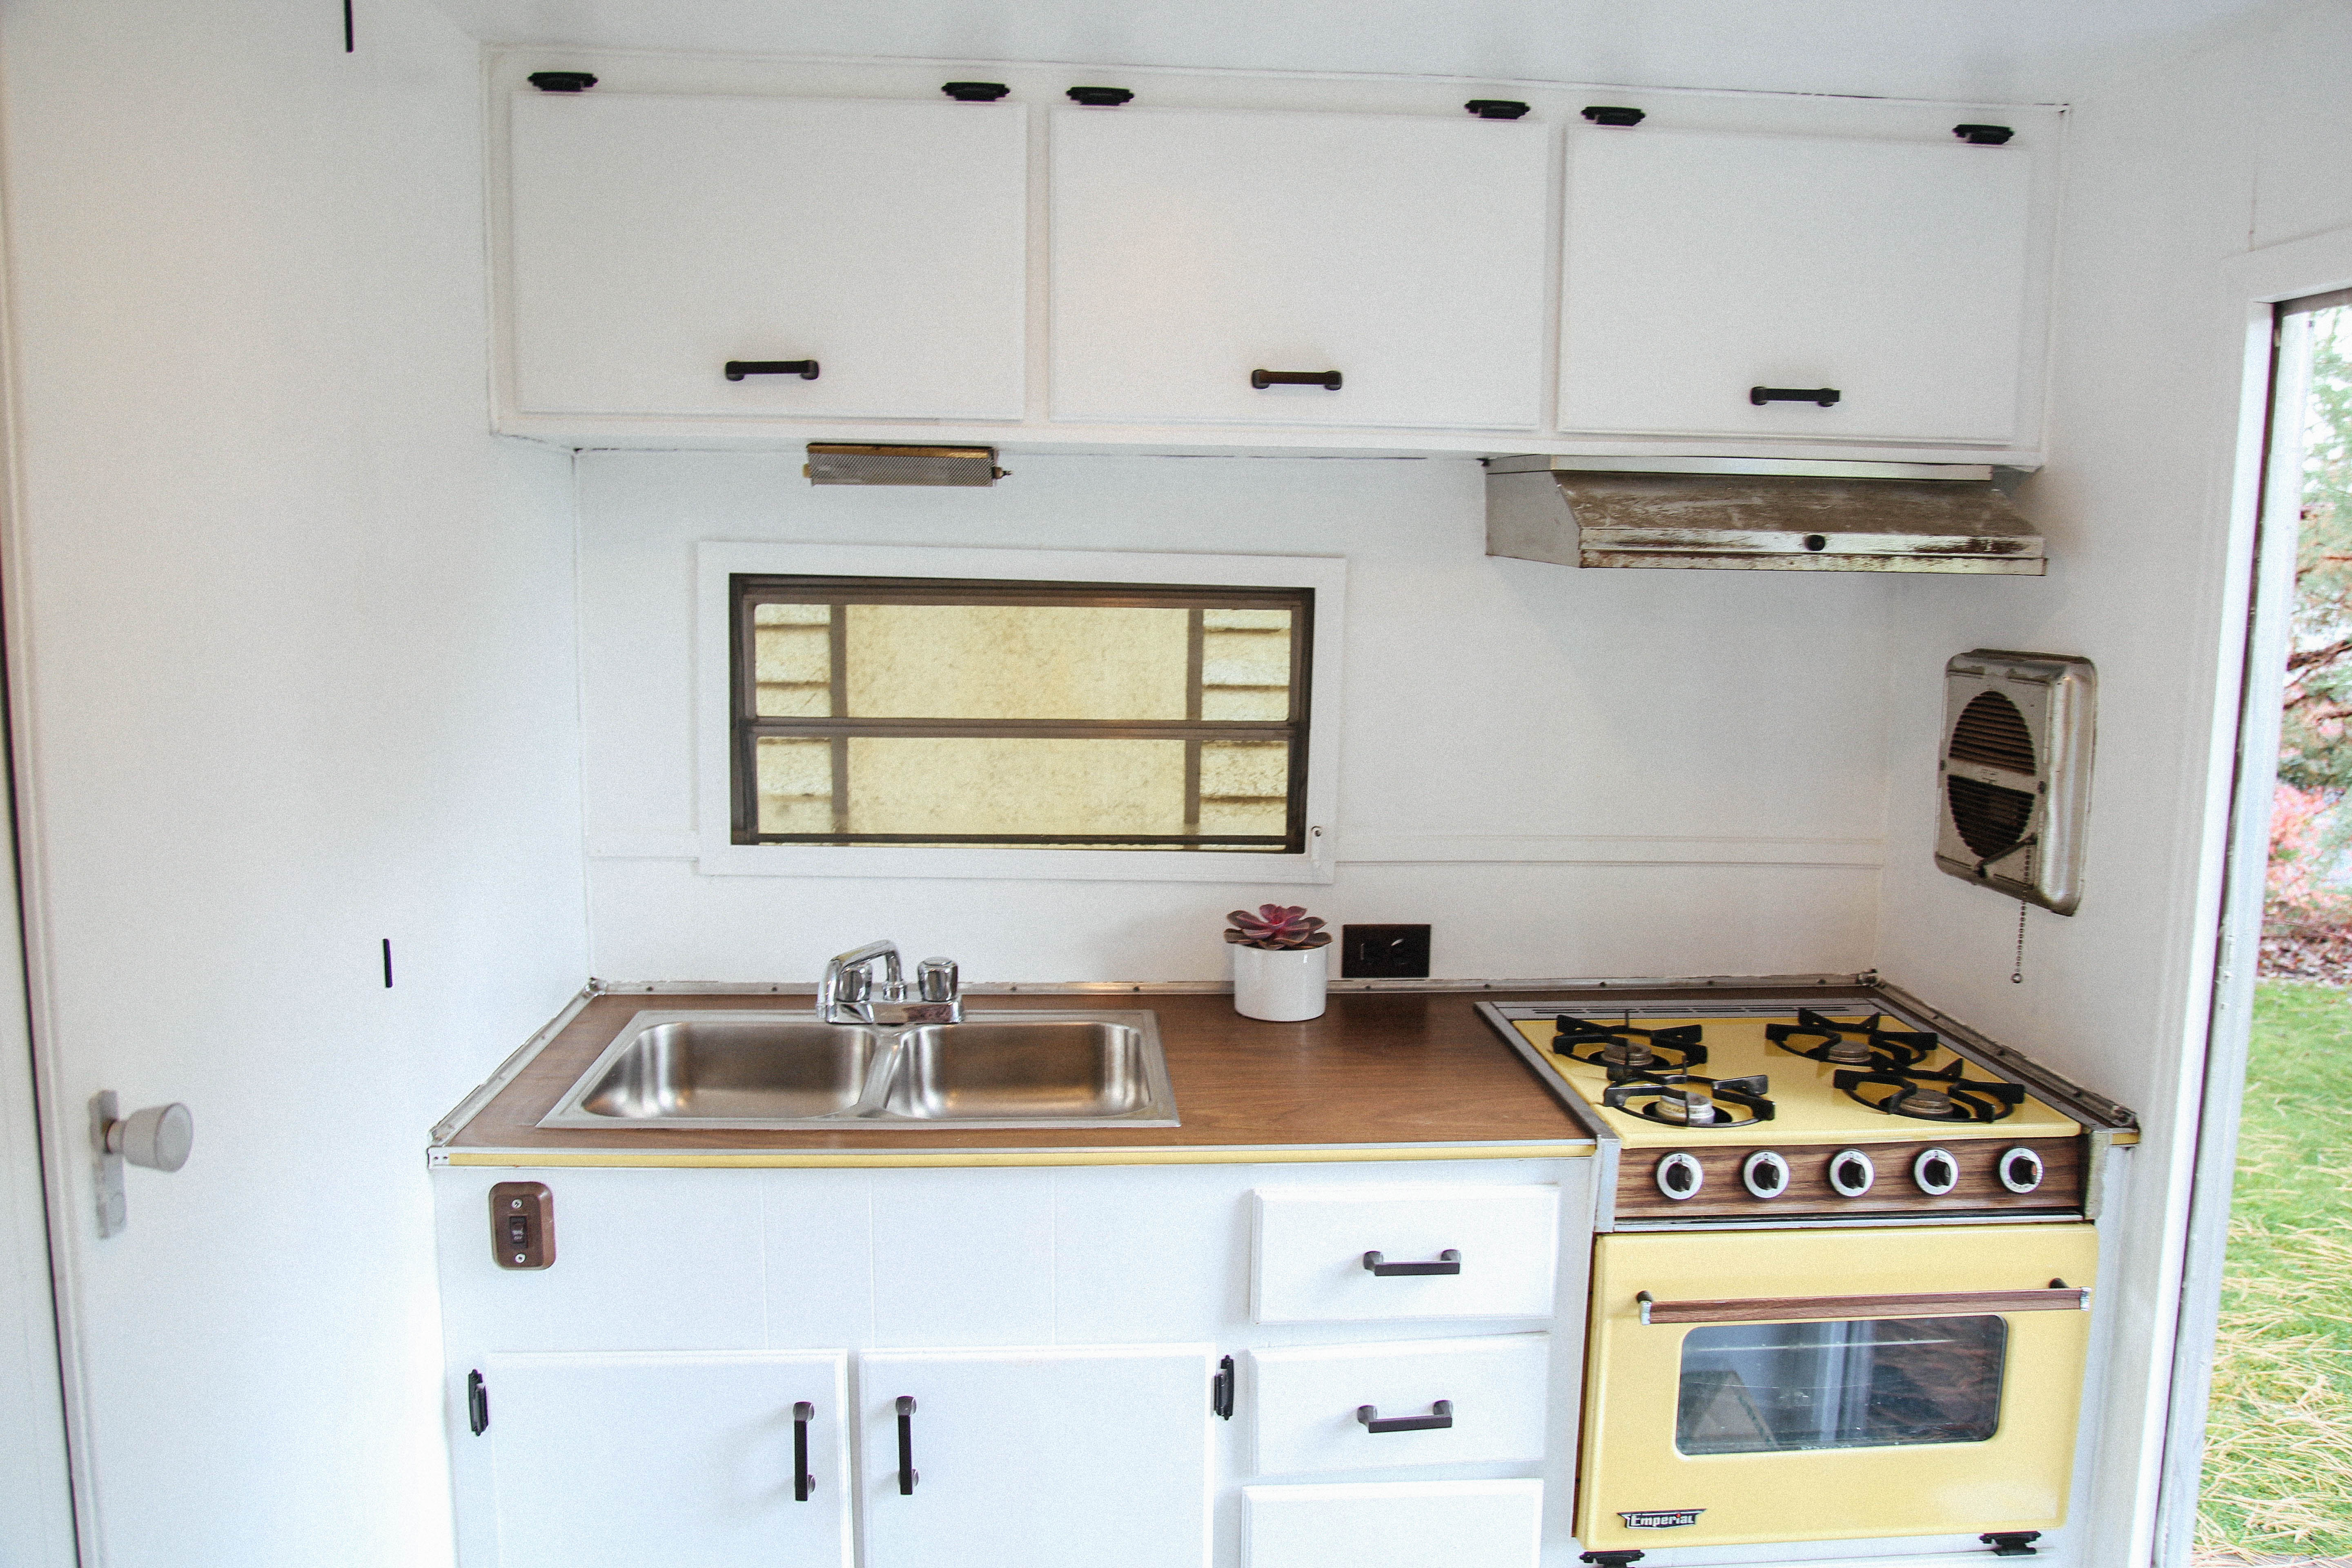
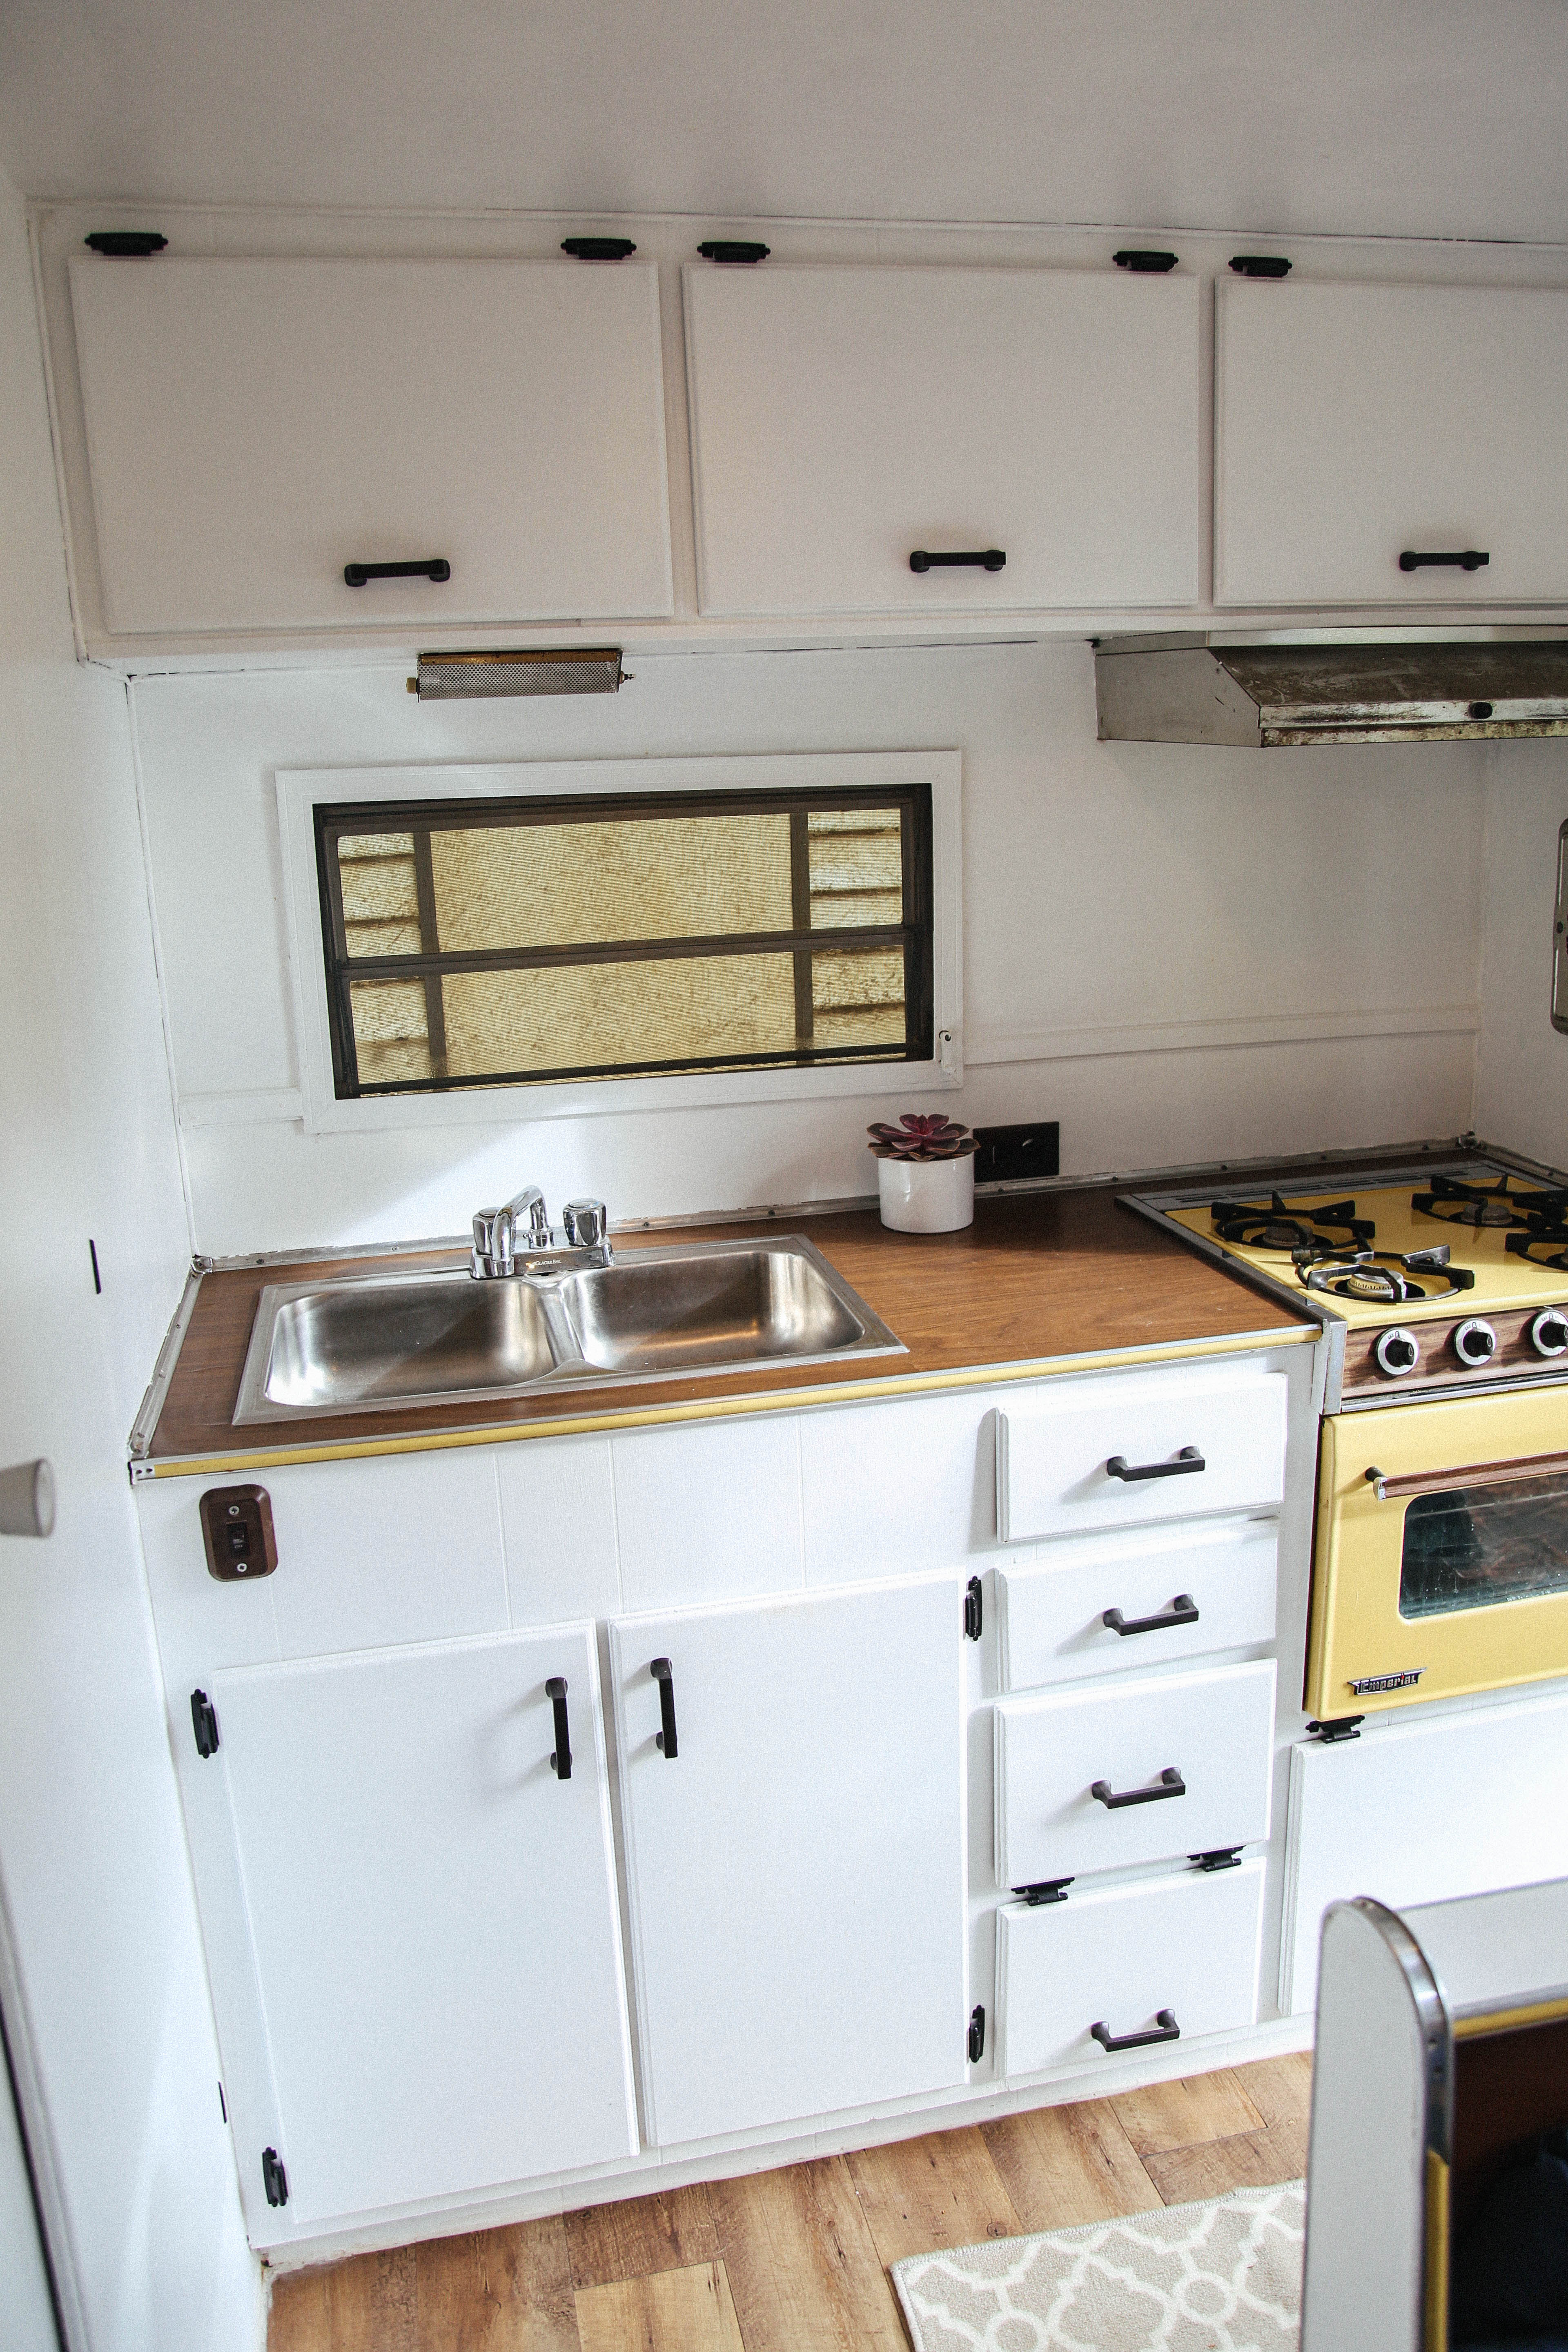
Last spring Mikey bought this BEAUTIFUL 1973 camper – jk actually it was pretty disgusting – and I’m finally sharing the before & after pictures of the renovation camper. When we first started working on it, there was mice sh*t everywhere, it had a leaky roof, and was just worn out in general. I knew it was bad, but looking at the before pictures it’s even worse than I remembered.
When putting together this post I realized I hadn’t taken as many photos of the whole renovation process as I thought – I guess I was just working sooo hard on the remodel that I forgot. But I still managed to get a few, so check them out!
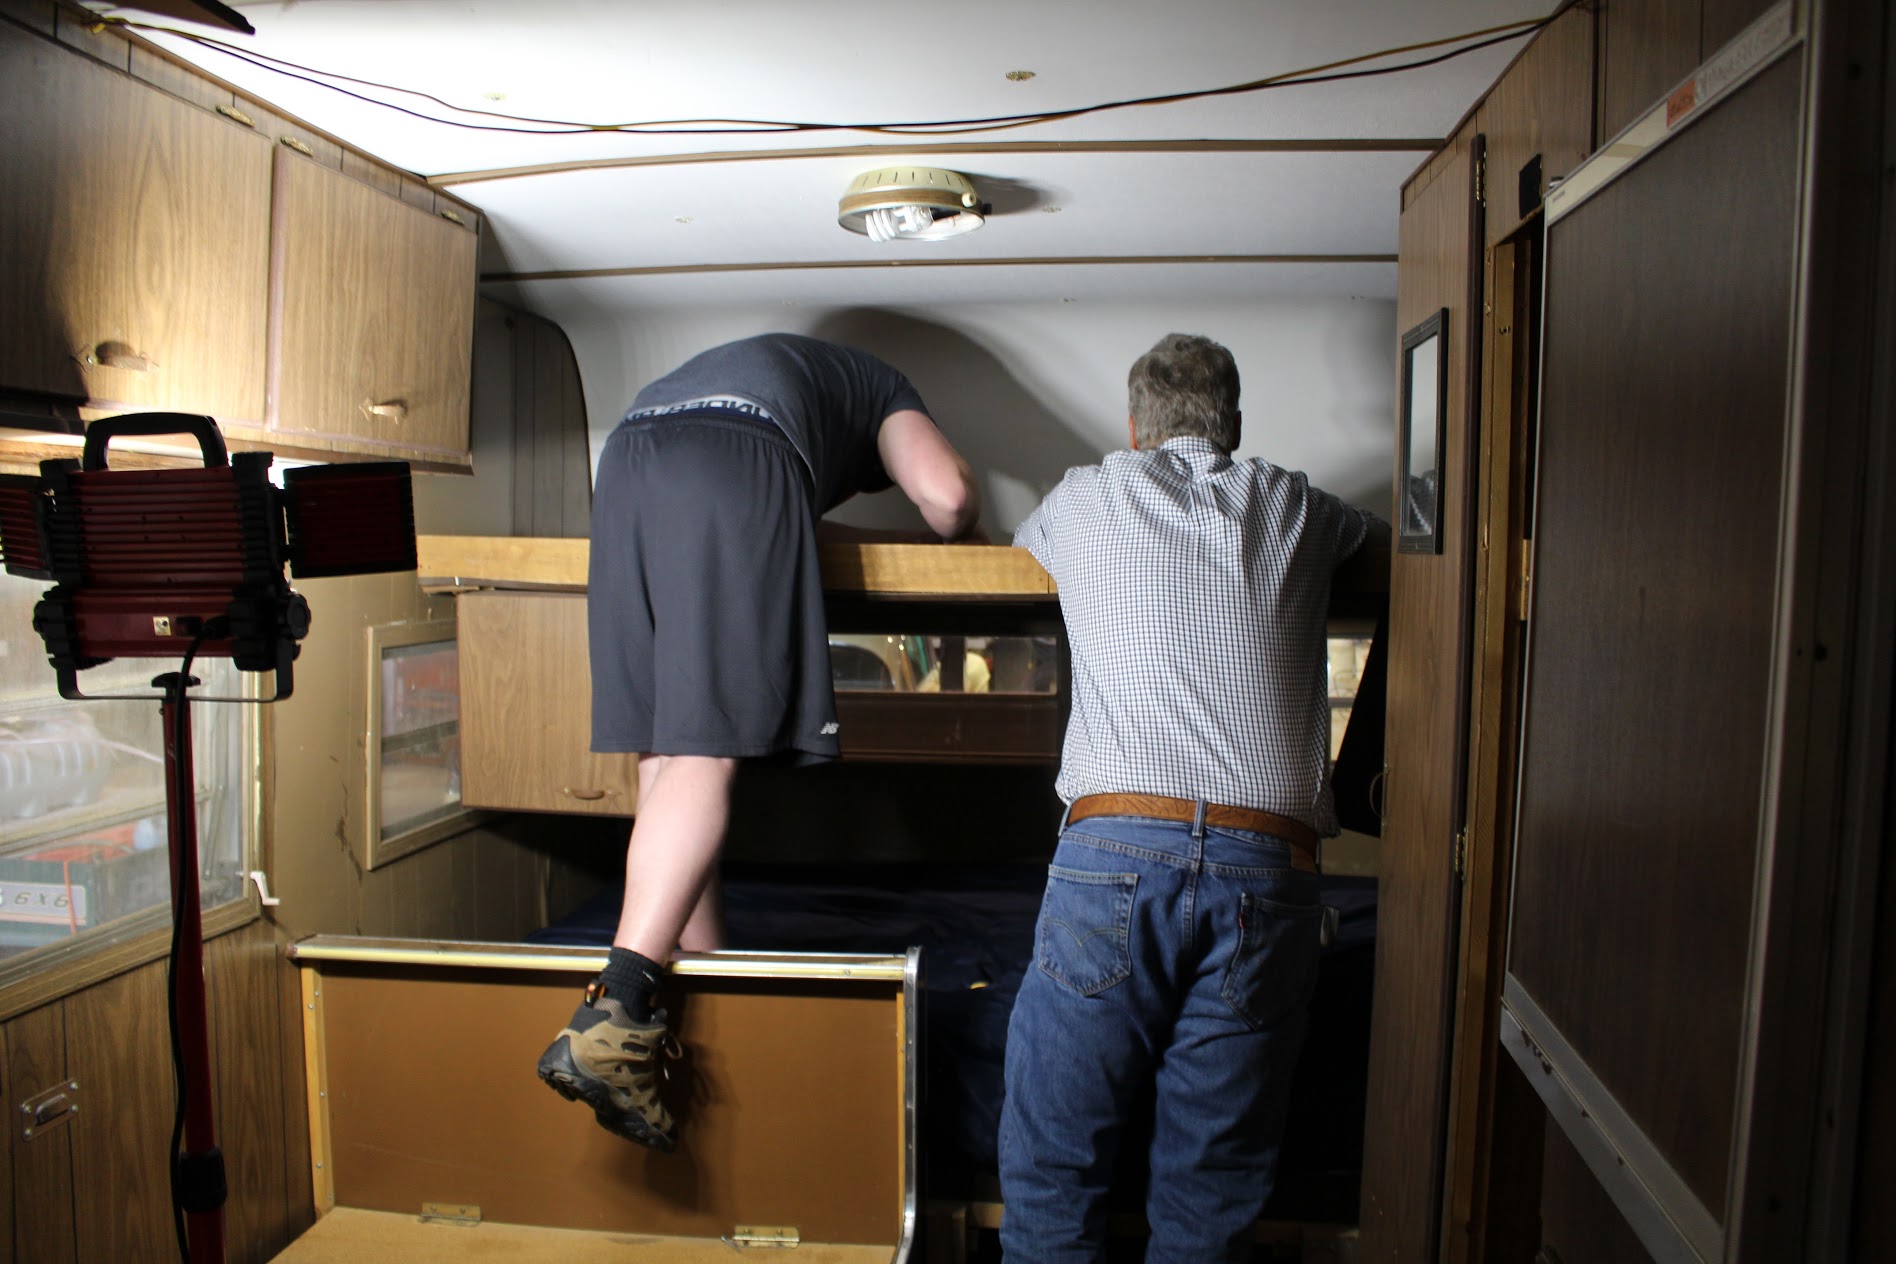
When we first started the remodel I don’t think we had any idea what we were getting ourselves into. We thought it wouldn’t take long to renovate – boy were we wrong! If it wasn’t for the my dad’s help we’d probably still be working on it… My dad worked as a carpenter in his 20s (he built my childhood home) and he takes great pride in his craft from building furniture or fixing up an old tractor. Mikey and I wouldn’t have been able to do this without his help and we both learned a lot from my dad. So, thanks dad, you’re the best!
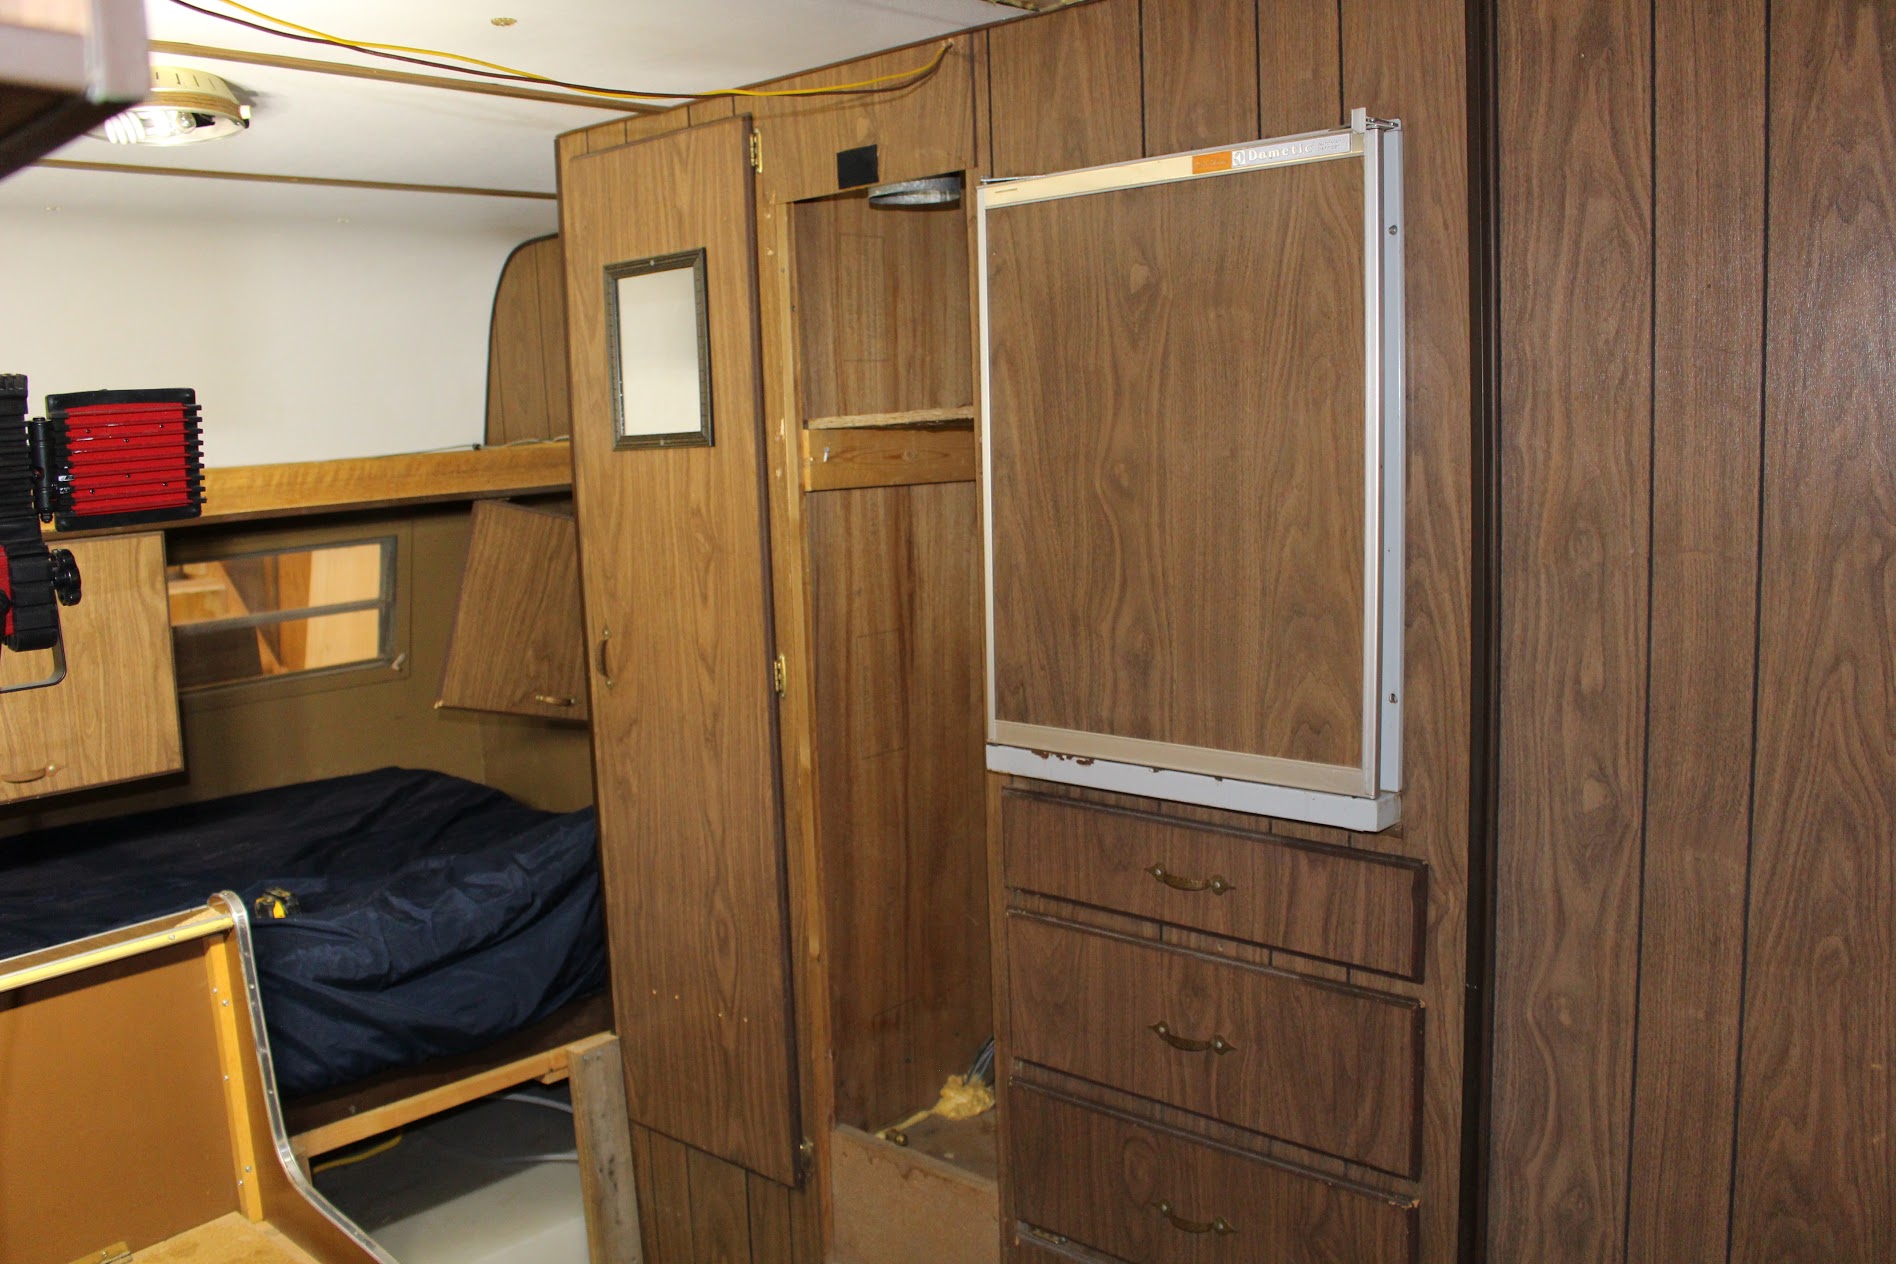
As we started working on the camper our once short to do list kept growing as we continued to find things wrong and things we wanted to replace. The walls were covered in fake wood paneling, the floors were covered in linoleum that was peeling off, there was a missing door on one of the closets, the bed was falling apart… like I said the list was endless.
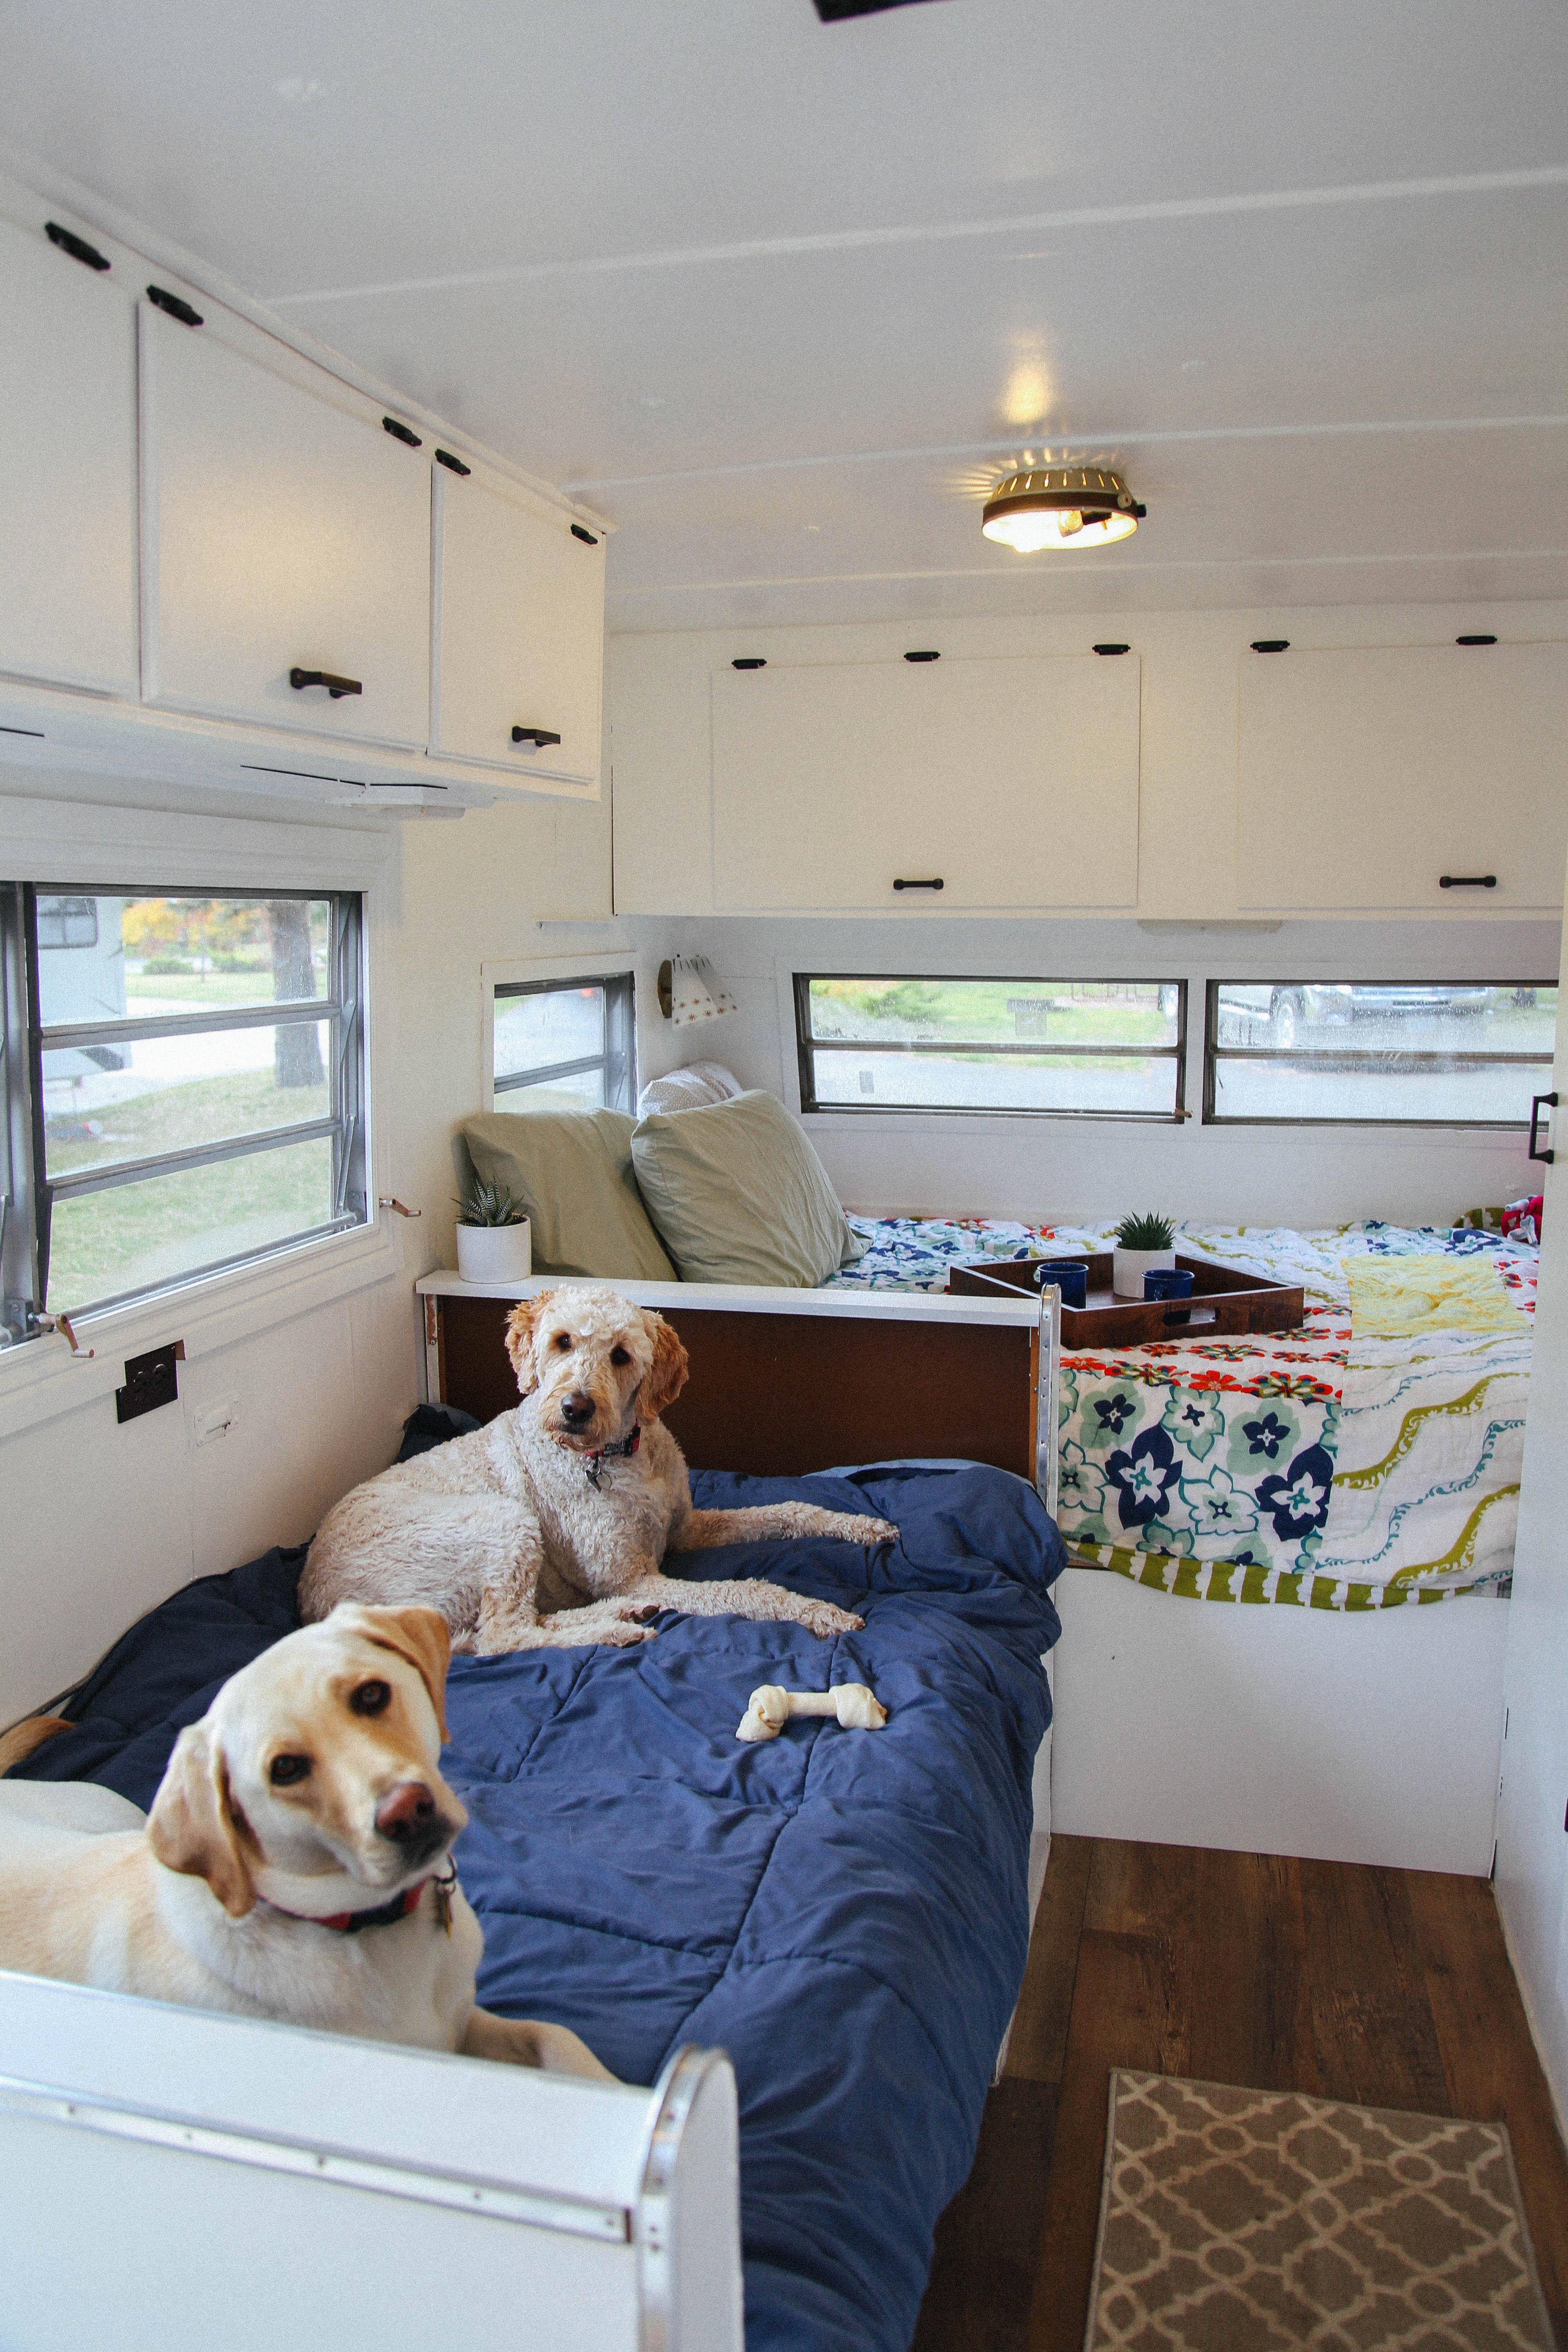
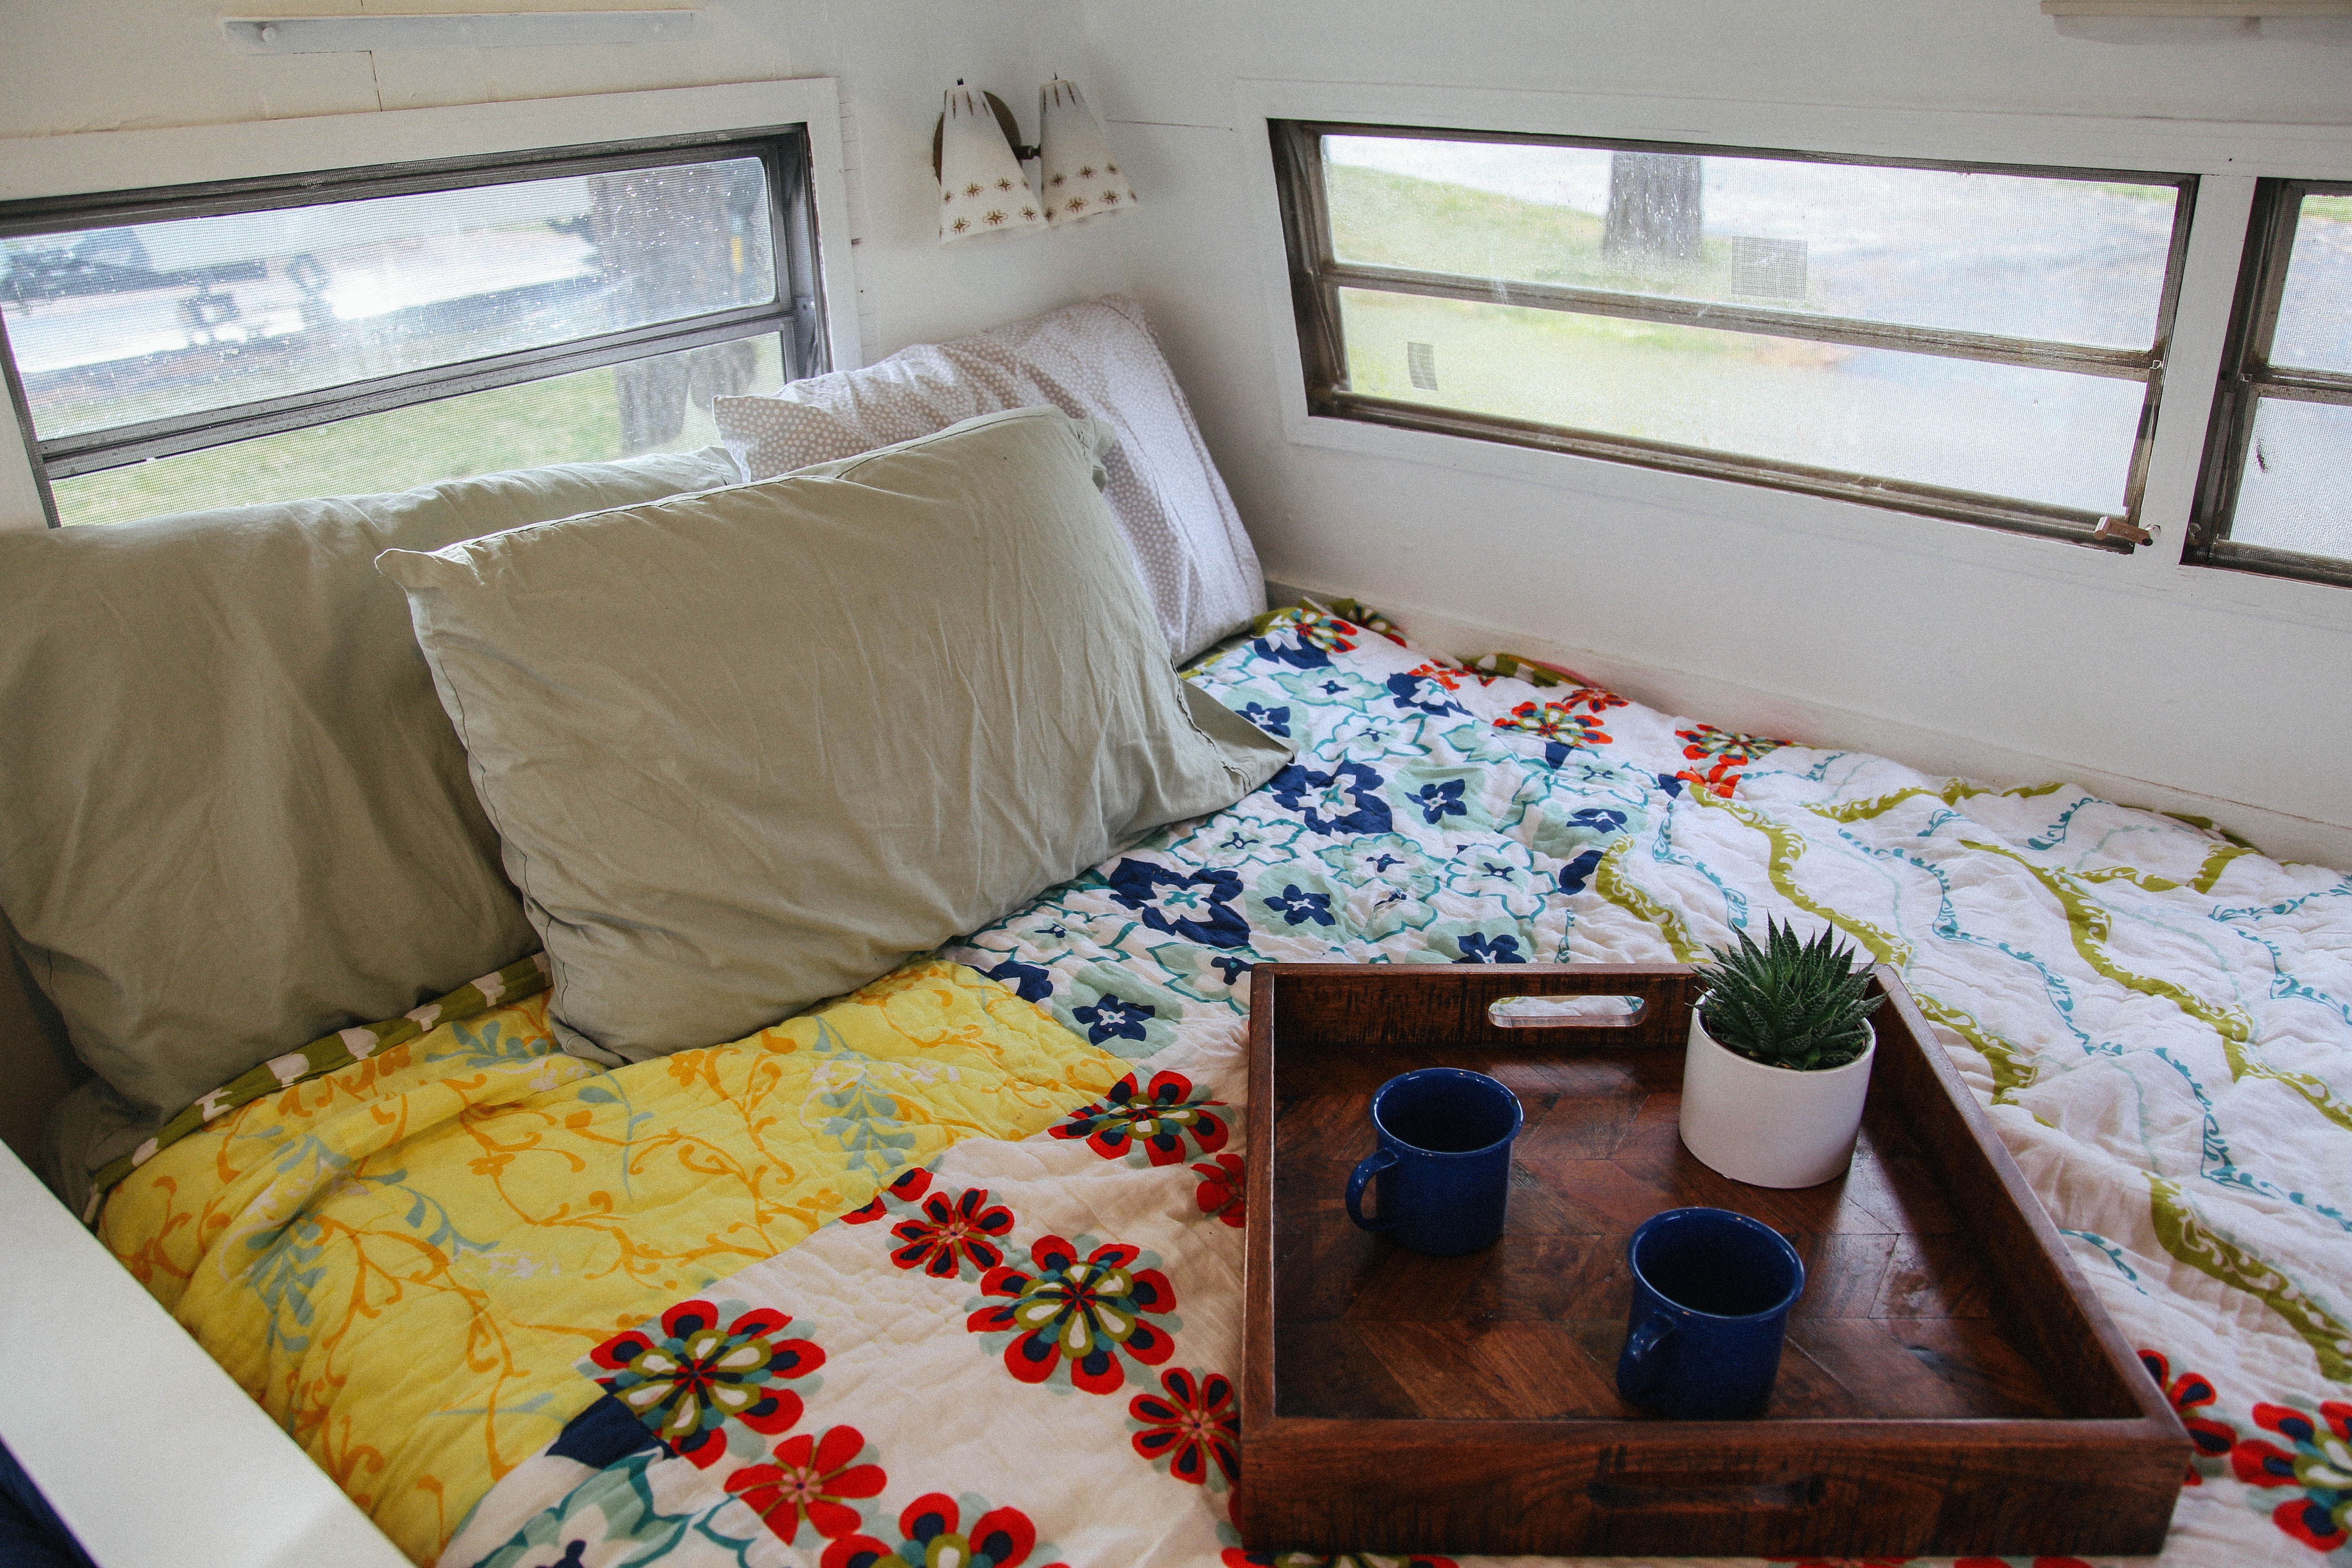
We began by removing all the cabinet drawers and doors so we could sand and paint them white. We really wanted to brighten up the place since the wood paneling walls made the camper look so dark and outdated. The white really made the camper look fresh and bright. We also had some chalkboard paint lying around and so we painted the fridge with it. With all the crisp white walls, drawers, and doors we didn’t want to put the old rusted handles back on, so we replaced them with black handles and hinges from Home Depot – which I think added great detail to the camper.
Our next project (actually Mikey’s project) was to strip the very warned, dirty, outdated flooring that had warped from a leak. We replaced it with faux barn wood laminate, also from Home Depot. I’m so happy with how it turned out, it really gave the camper a cozy cottage feel.
For three weeks, we spent every weekend and many long nights working on the camper. During those late nights of painting we kept asking ourselves why we even started this project, but it the end, it was totally worth it! Our next project this spring is to repaint the outside! Color suggestions are welcome!
I hope you guys enjoyed this post and let me know if you want more renovation/carpentry projects!!
LOVE that you kept the oven! Adds such a nice pop of colour and retro detail! I almost would think to paint the outside in the same bright yellow colour! Your dogs are adorable 😀
Thank you! It’s one of my favorite parts of the inside! We are actually planning on painting the outside white with that same yellow as the oven! 🙂